1. Welcome to the Art Studio!
Welcome to EMcGee’s Art Studio!


I’m so glad that you are joining me for class! I have been an artist and art teacher for many years. This series of online classes was created during Covid19 when my students could no longer paint in person in my studio. The unexpected outcome though has been that now you can be my student!!
Let’s Start!
Lesson Preview: Hint…the first lesson is getting to know me as a painter!
2. Lesson: Erin McGee Ferrell

2.1 Lesson: Erin McGee Ferrell
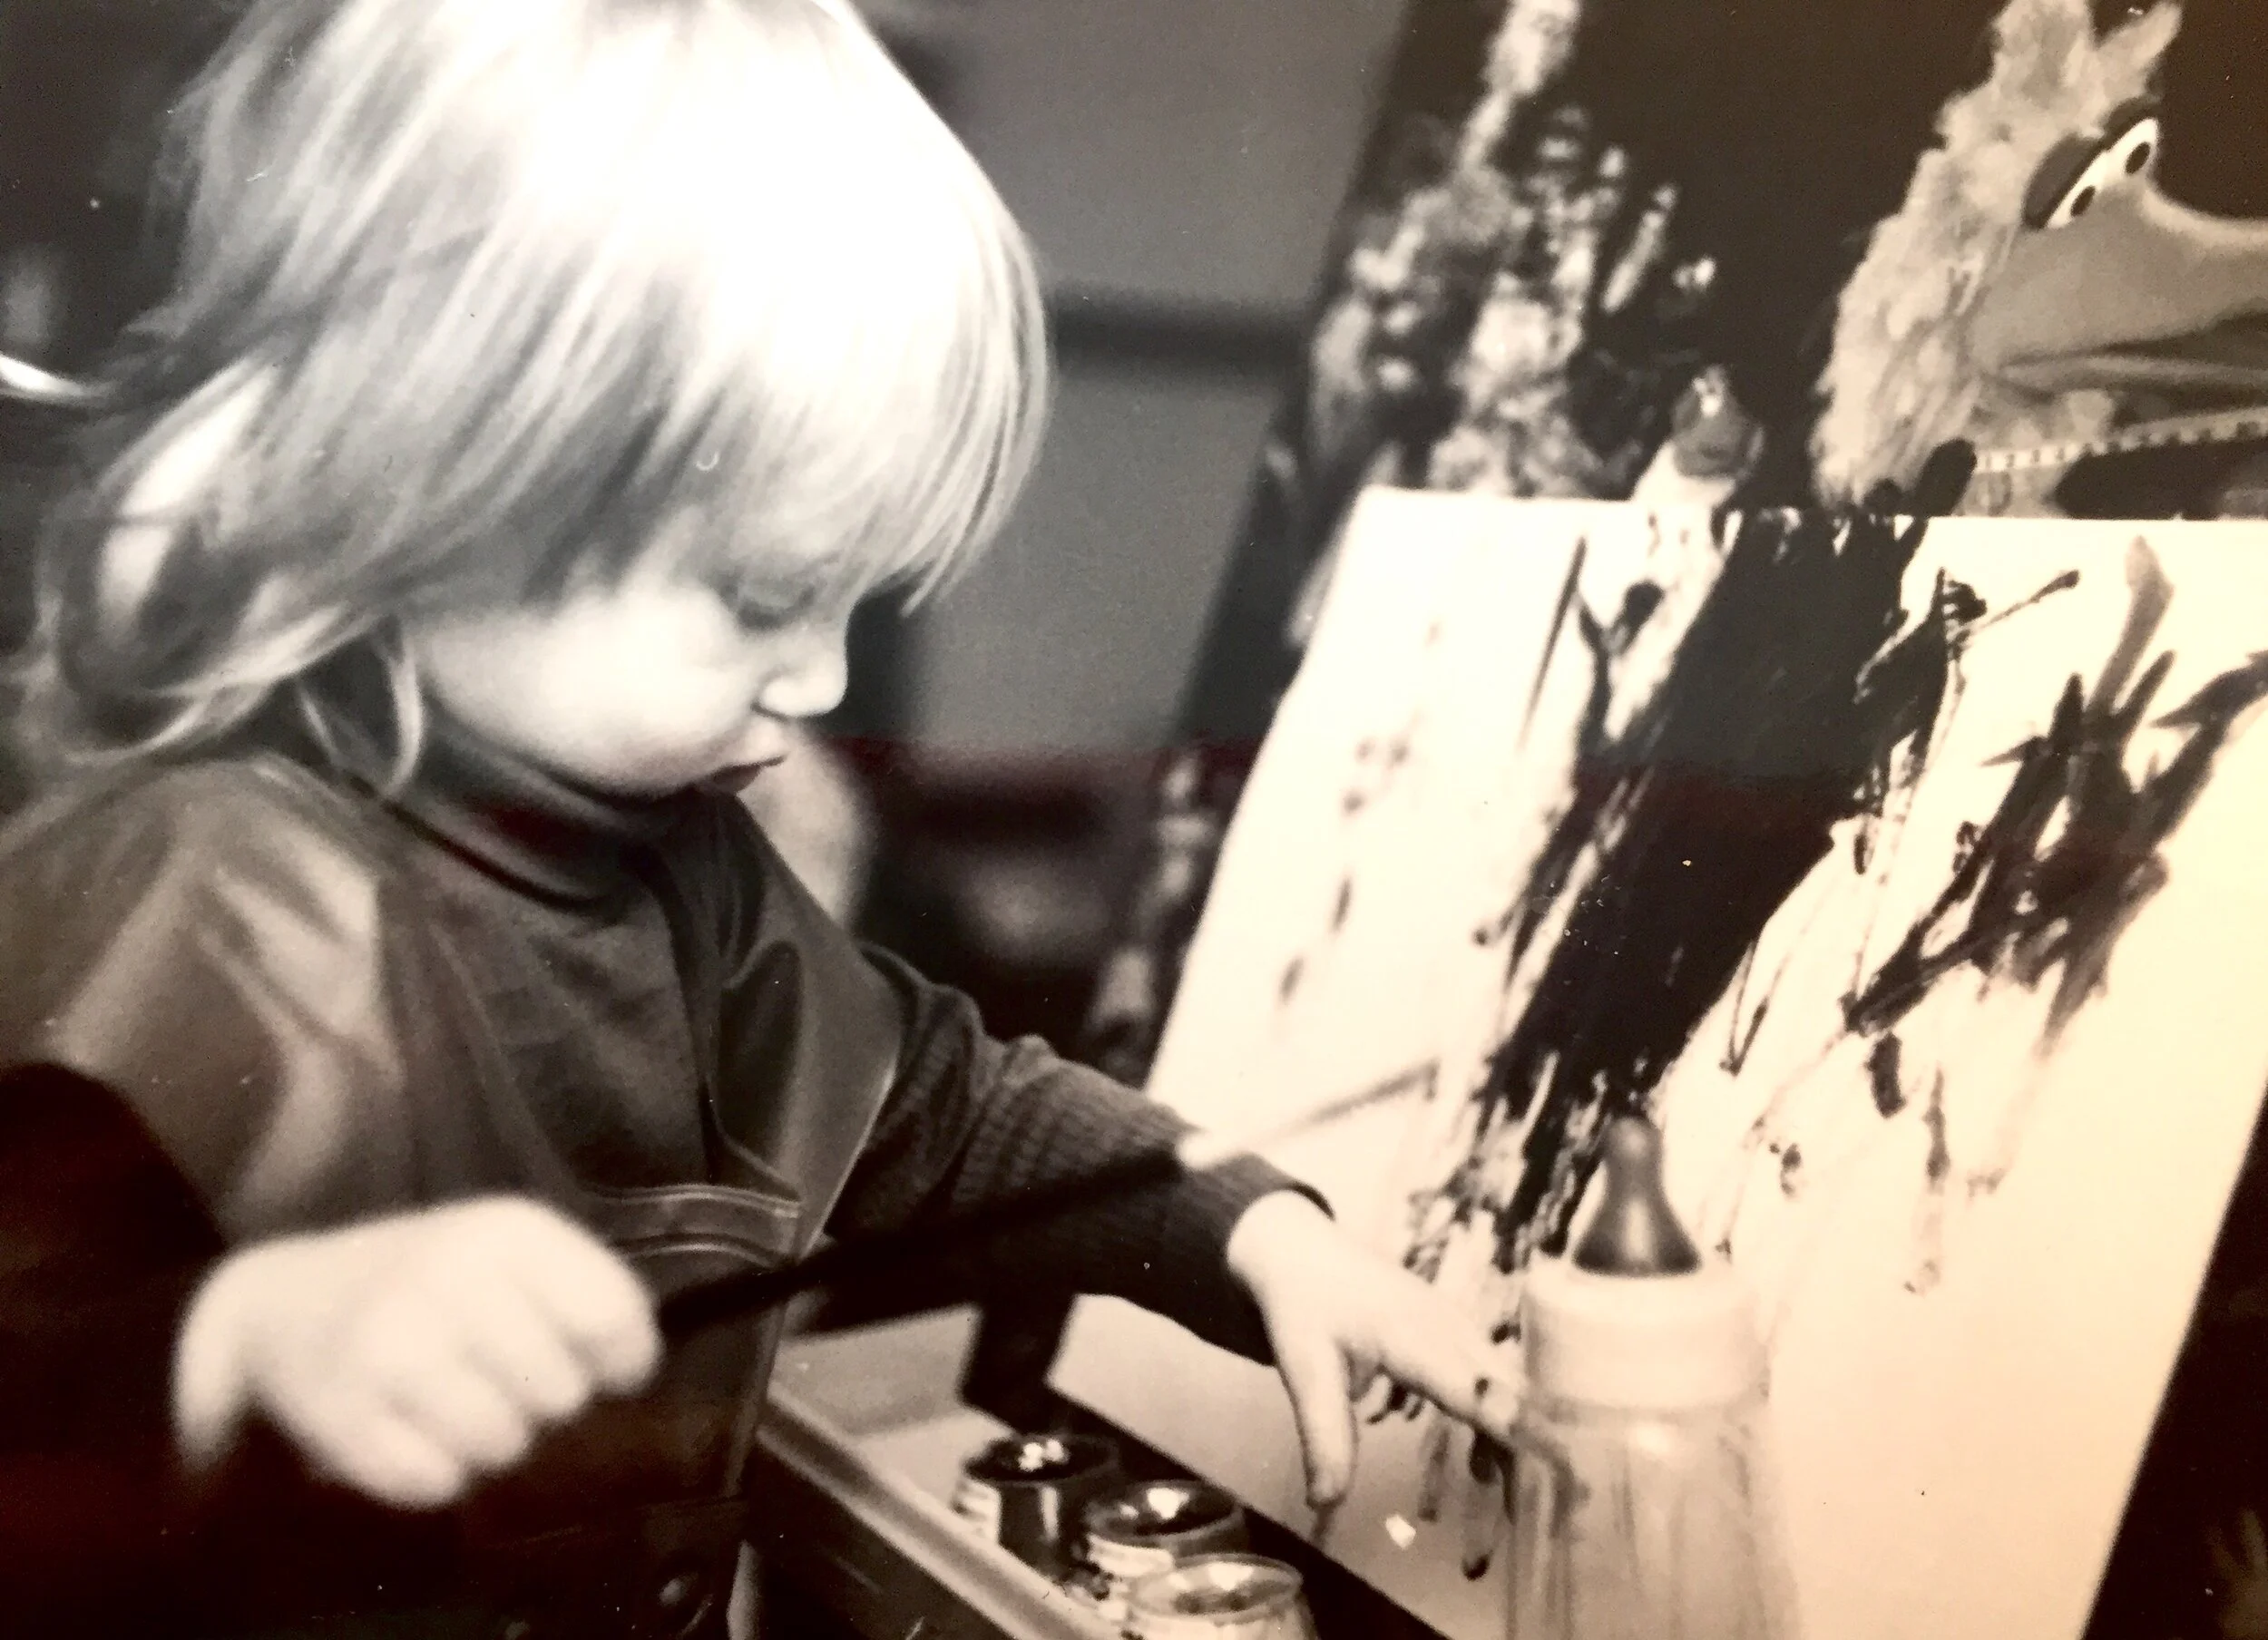

Erin Michelle McGee age 2 Painting with Bottle.
Erin Michelle McGee’s first art show with Nicholas Zeman. Louisville, Kentucky


Let’s Start!


Gather Materials:
Paper
Marker
Scissors
colors (oil pastels, markers, colored pencils or crayons)

Things to think about:
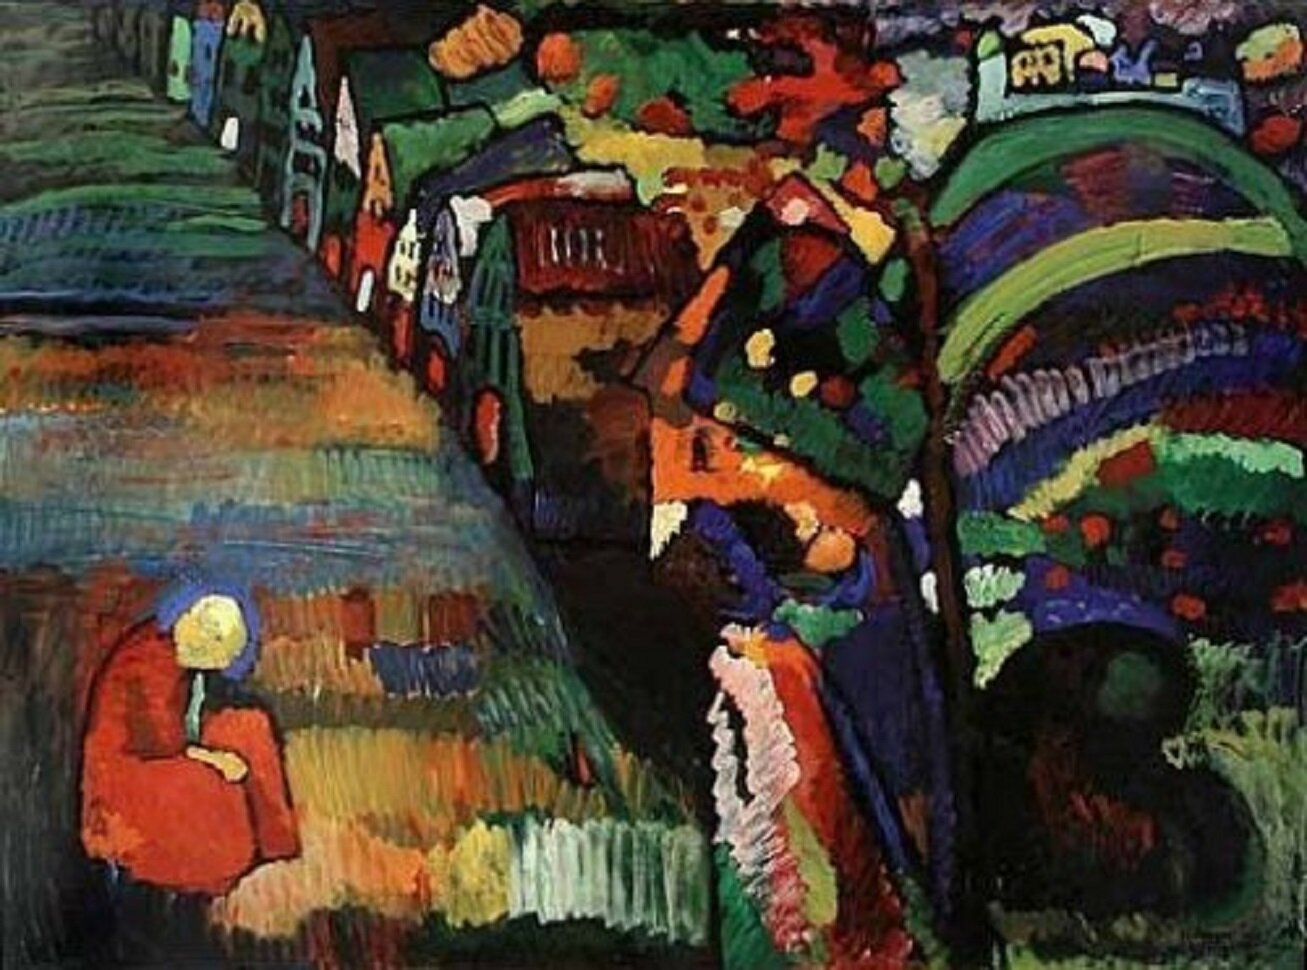
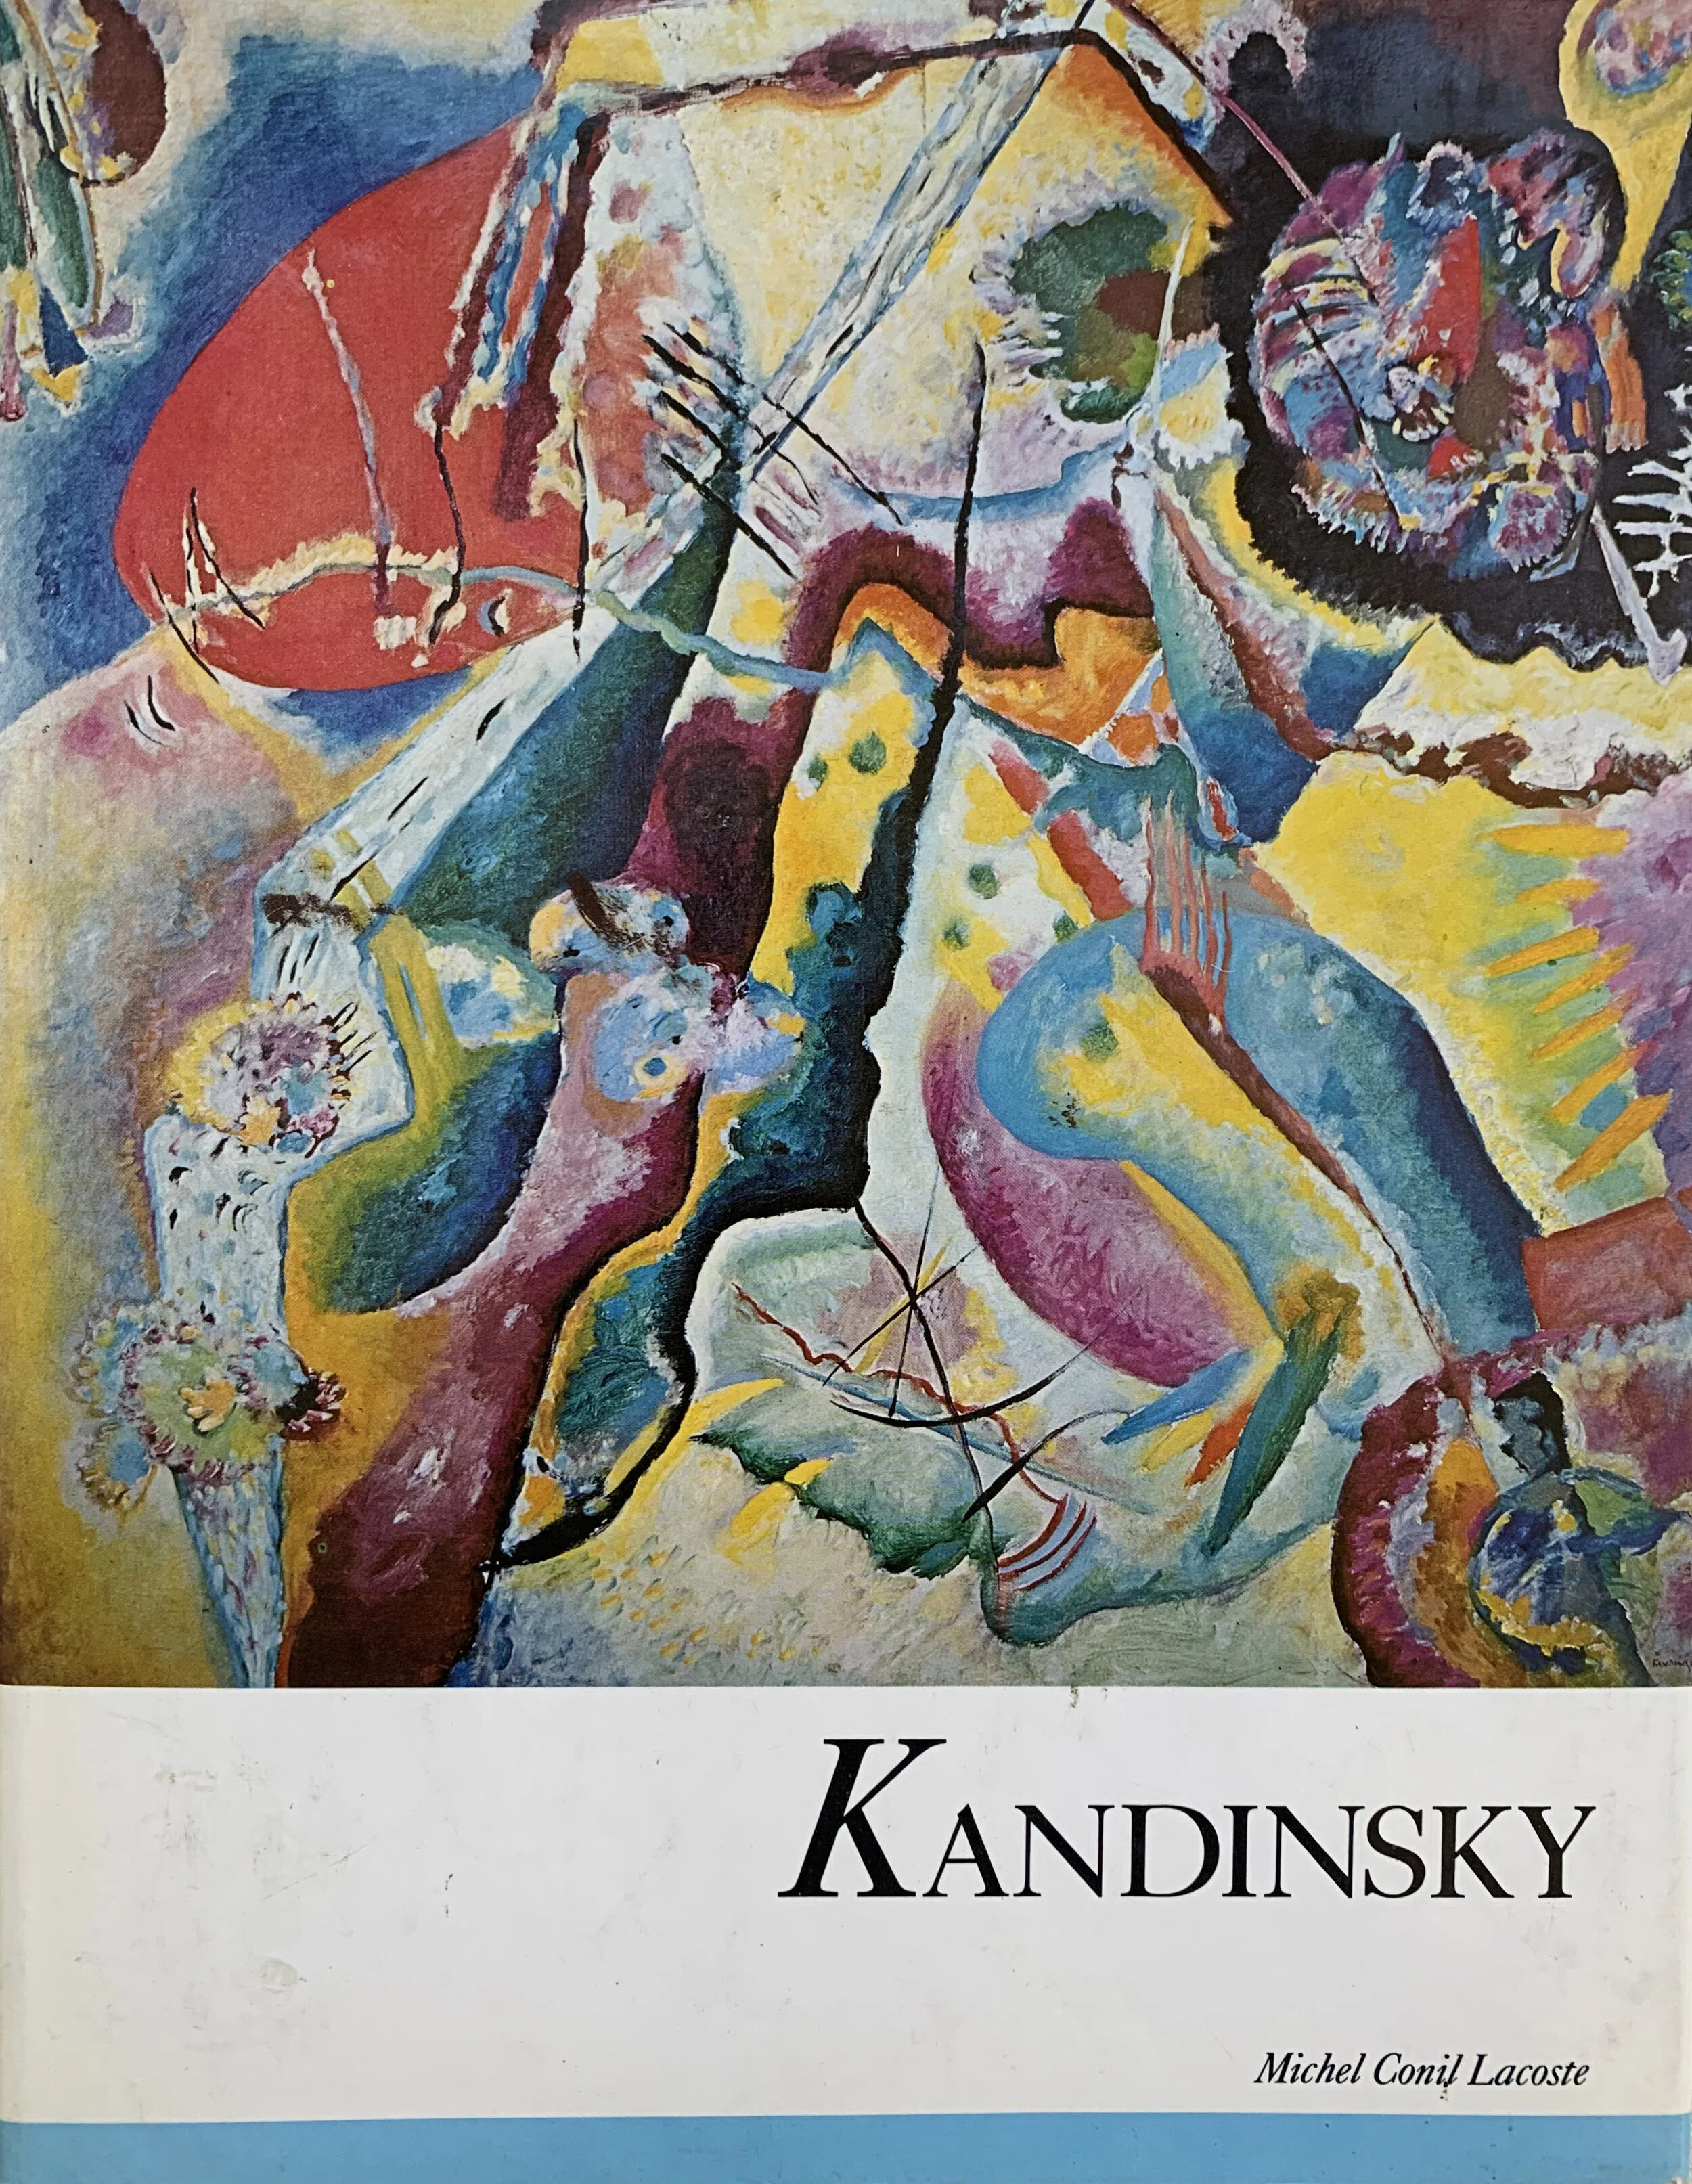
Meet the Artist: Wassily Kandinsky. Erin loved this artist’s work when she was a teenager.

Did you know?
Erin McGee Ferrell was born in Louisville, Kentucky on October 4, 1972.
Erin and her family moved to Seattle, Washington when she was 9 years old.
As a child, Erin made paper dolls and loved to draw.
When Erin was a teenager she made jewelry out of paper, snake skin, and dog treats. Erin traveled to Italy and Scotland in high school. She brought her jewelry with her to sell.
Erin majored in Studio Art and graduated from Mount Holyoke College. She also went to school at the University of the Arts Philadelphia, Pennsylvania Academy of Fine Arts, University of Louisville, Southern Maine Community College, and in Nigeria with the School for International Training.
Erin and her husband, Nathan, have three children. They lived in Vermont, Virginia, Massachusetts, New Jersey, North Carolina, and Maine.
Erin loved to make art to put in hospitals and doctor’s offices. The Maine Arts Commission gave her a grant to work with a team of people to do a research project with Art and Chemotherapy.
Erin McGee Ferrell has had cancer three times. She created a lot of paintings about being a patient and also a Educational Tool for Cancer Patients called, The Pirate Crew Paper Dolls.
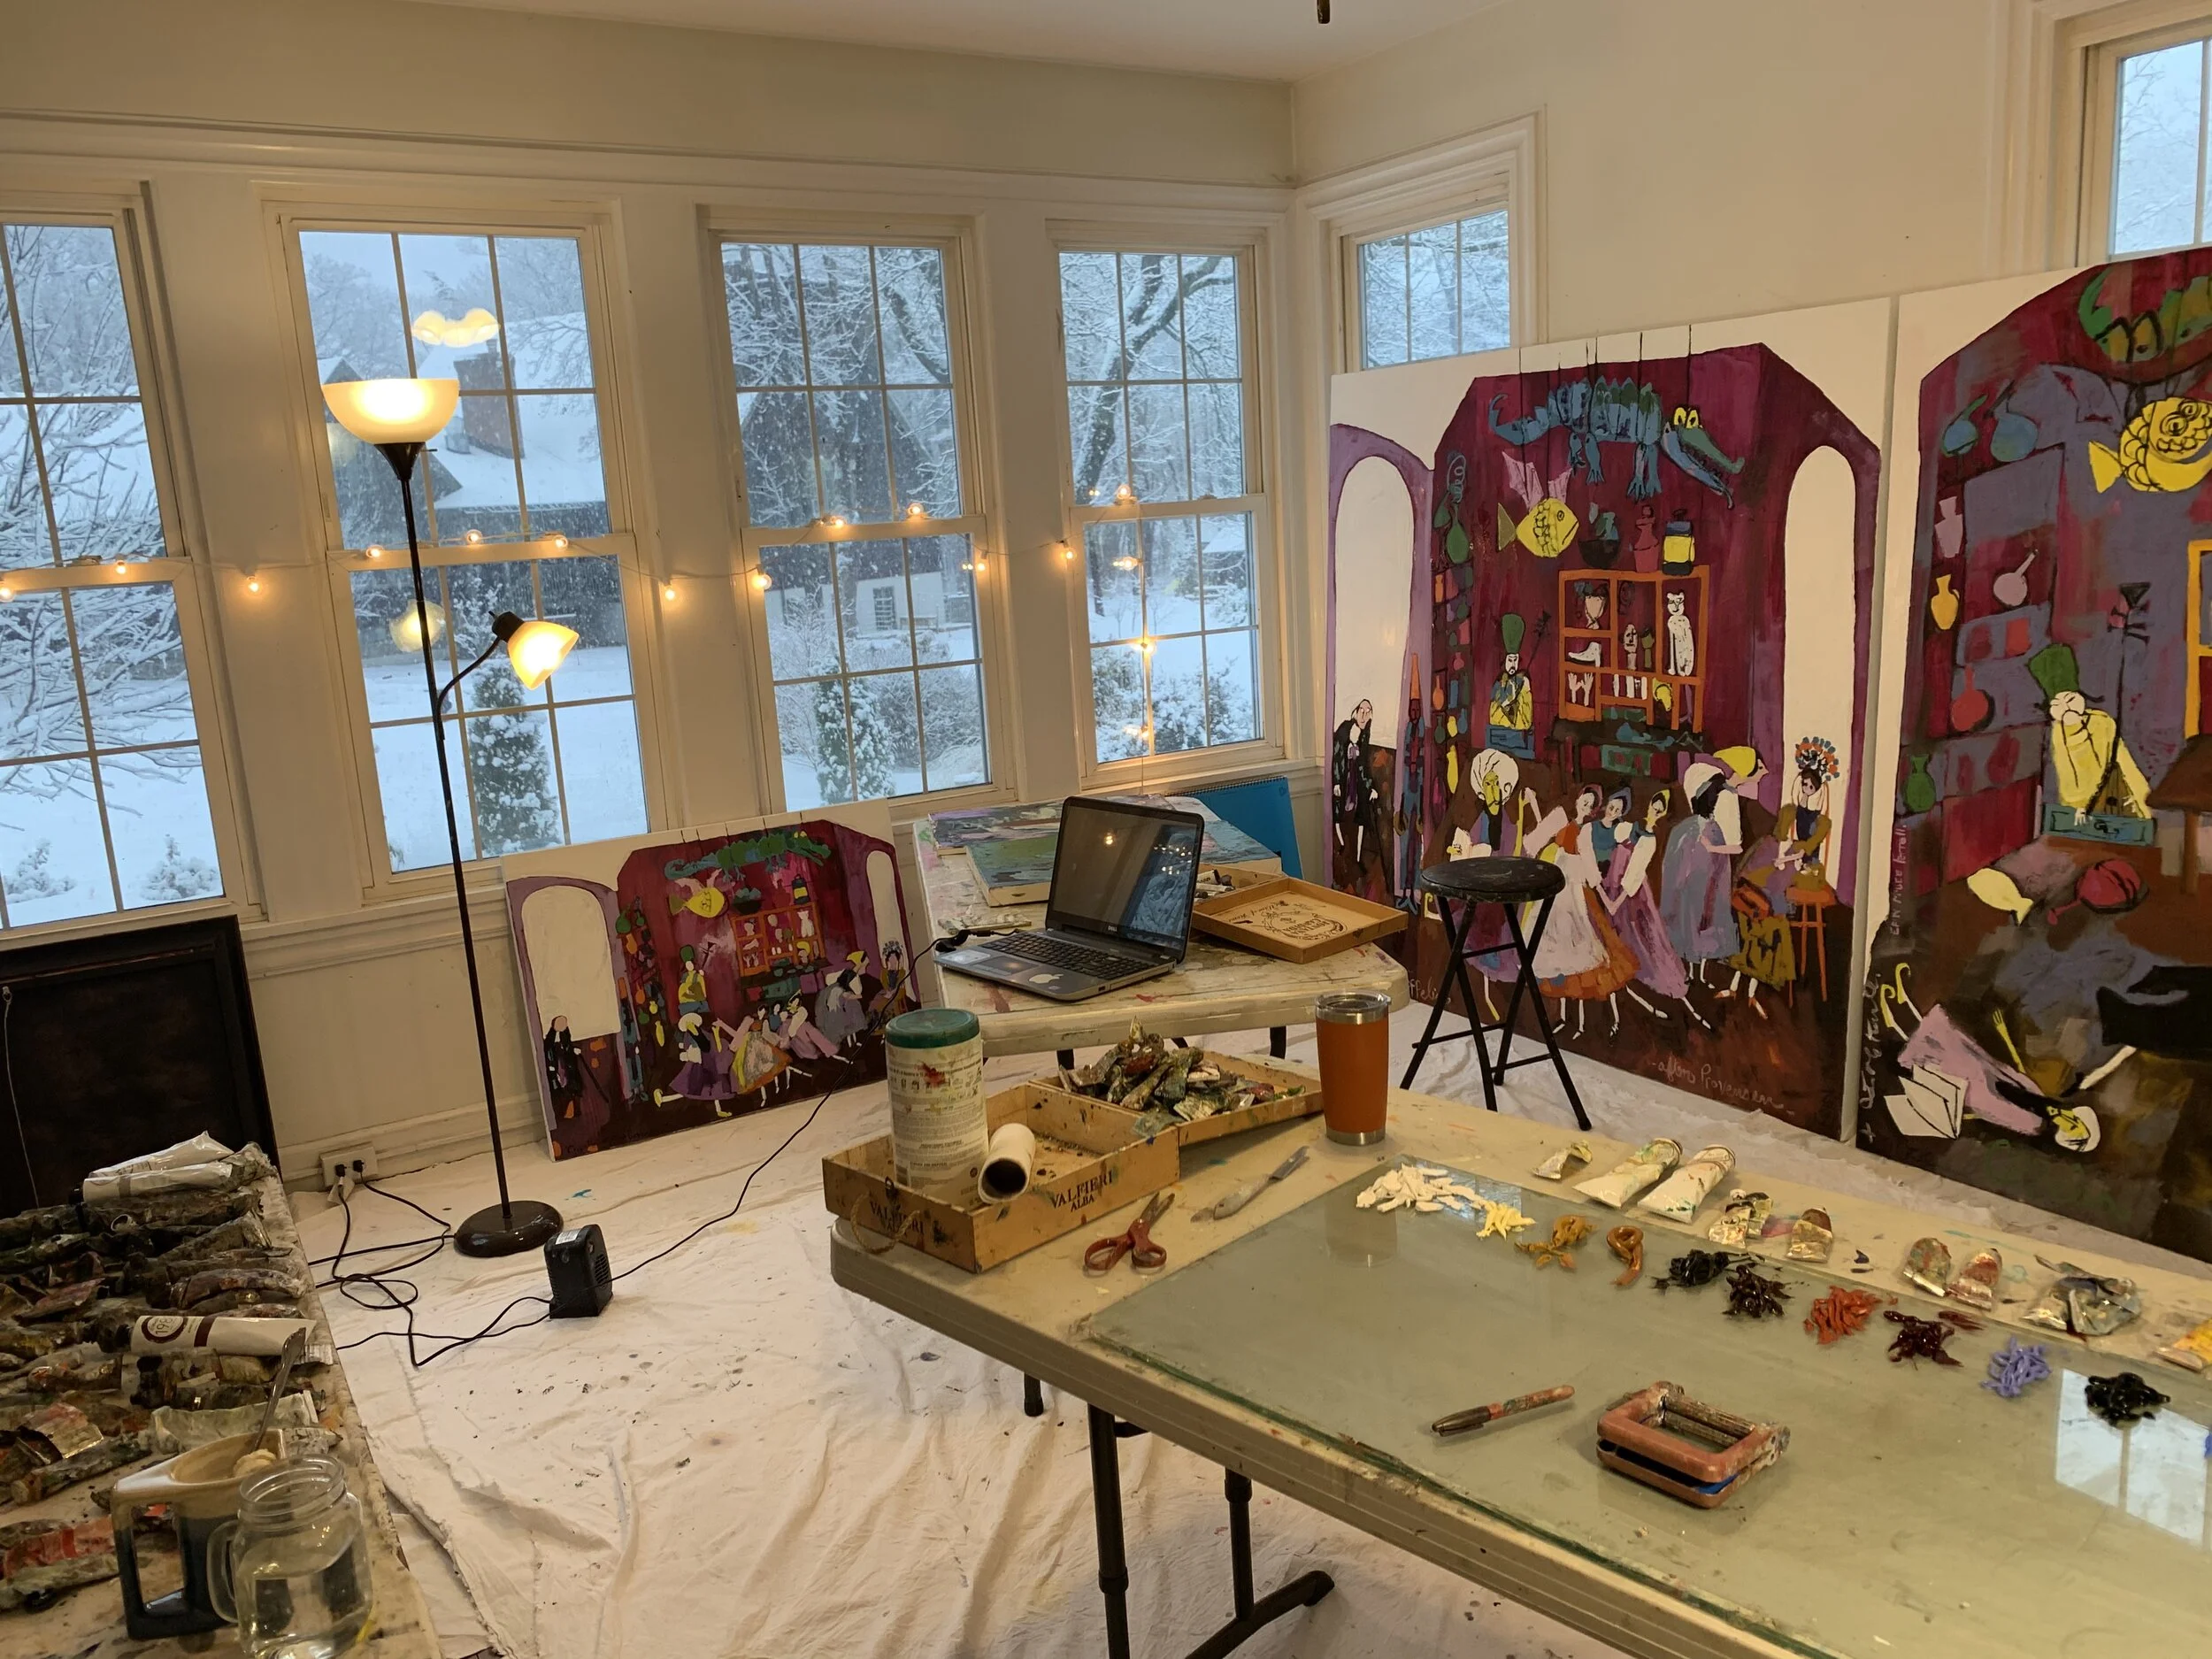
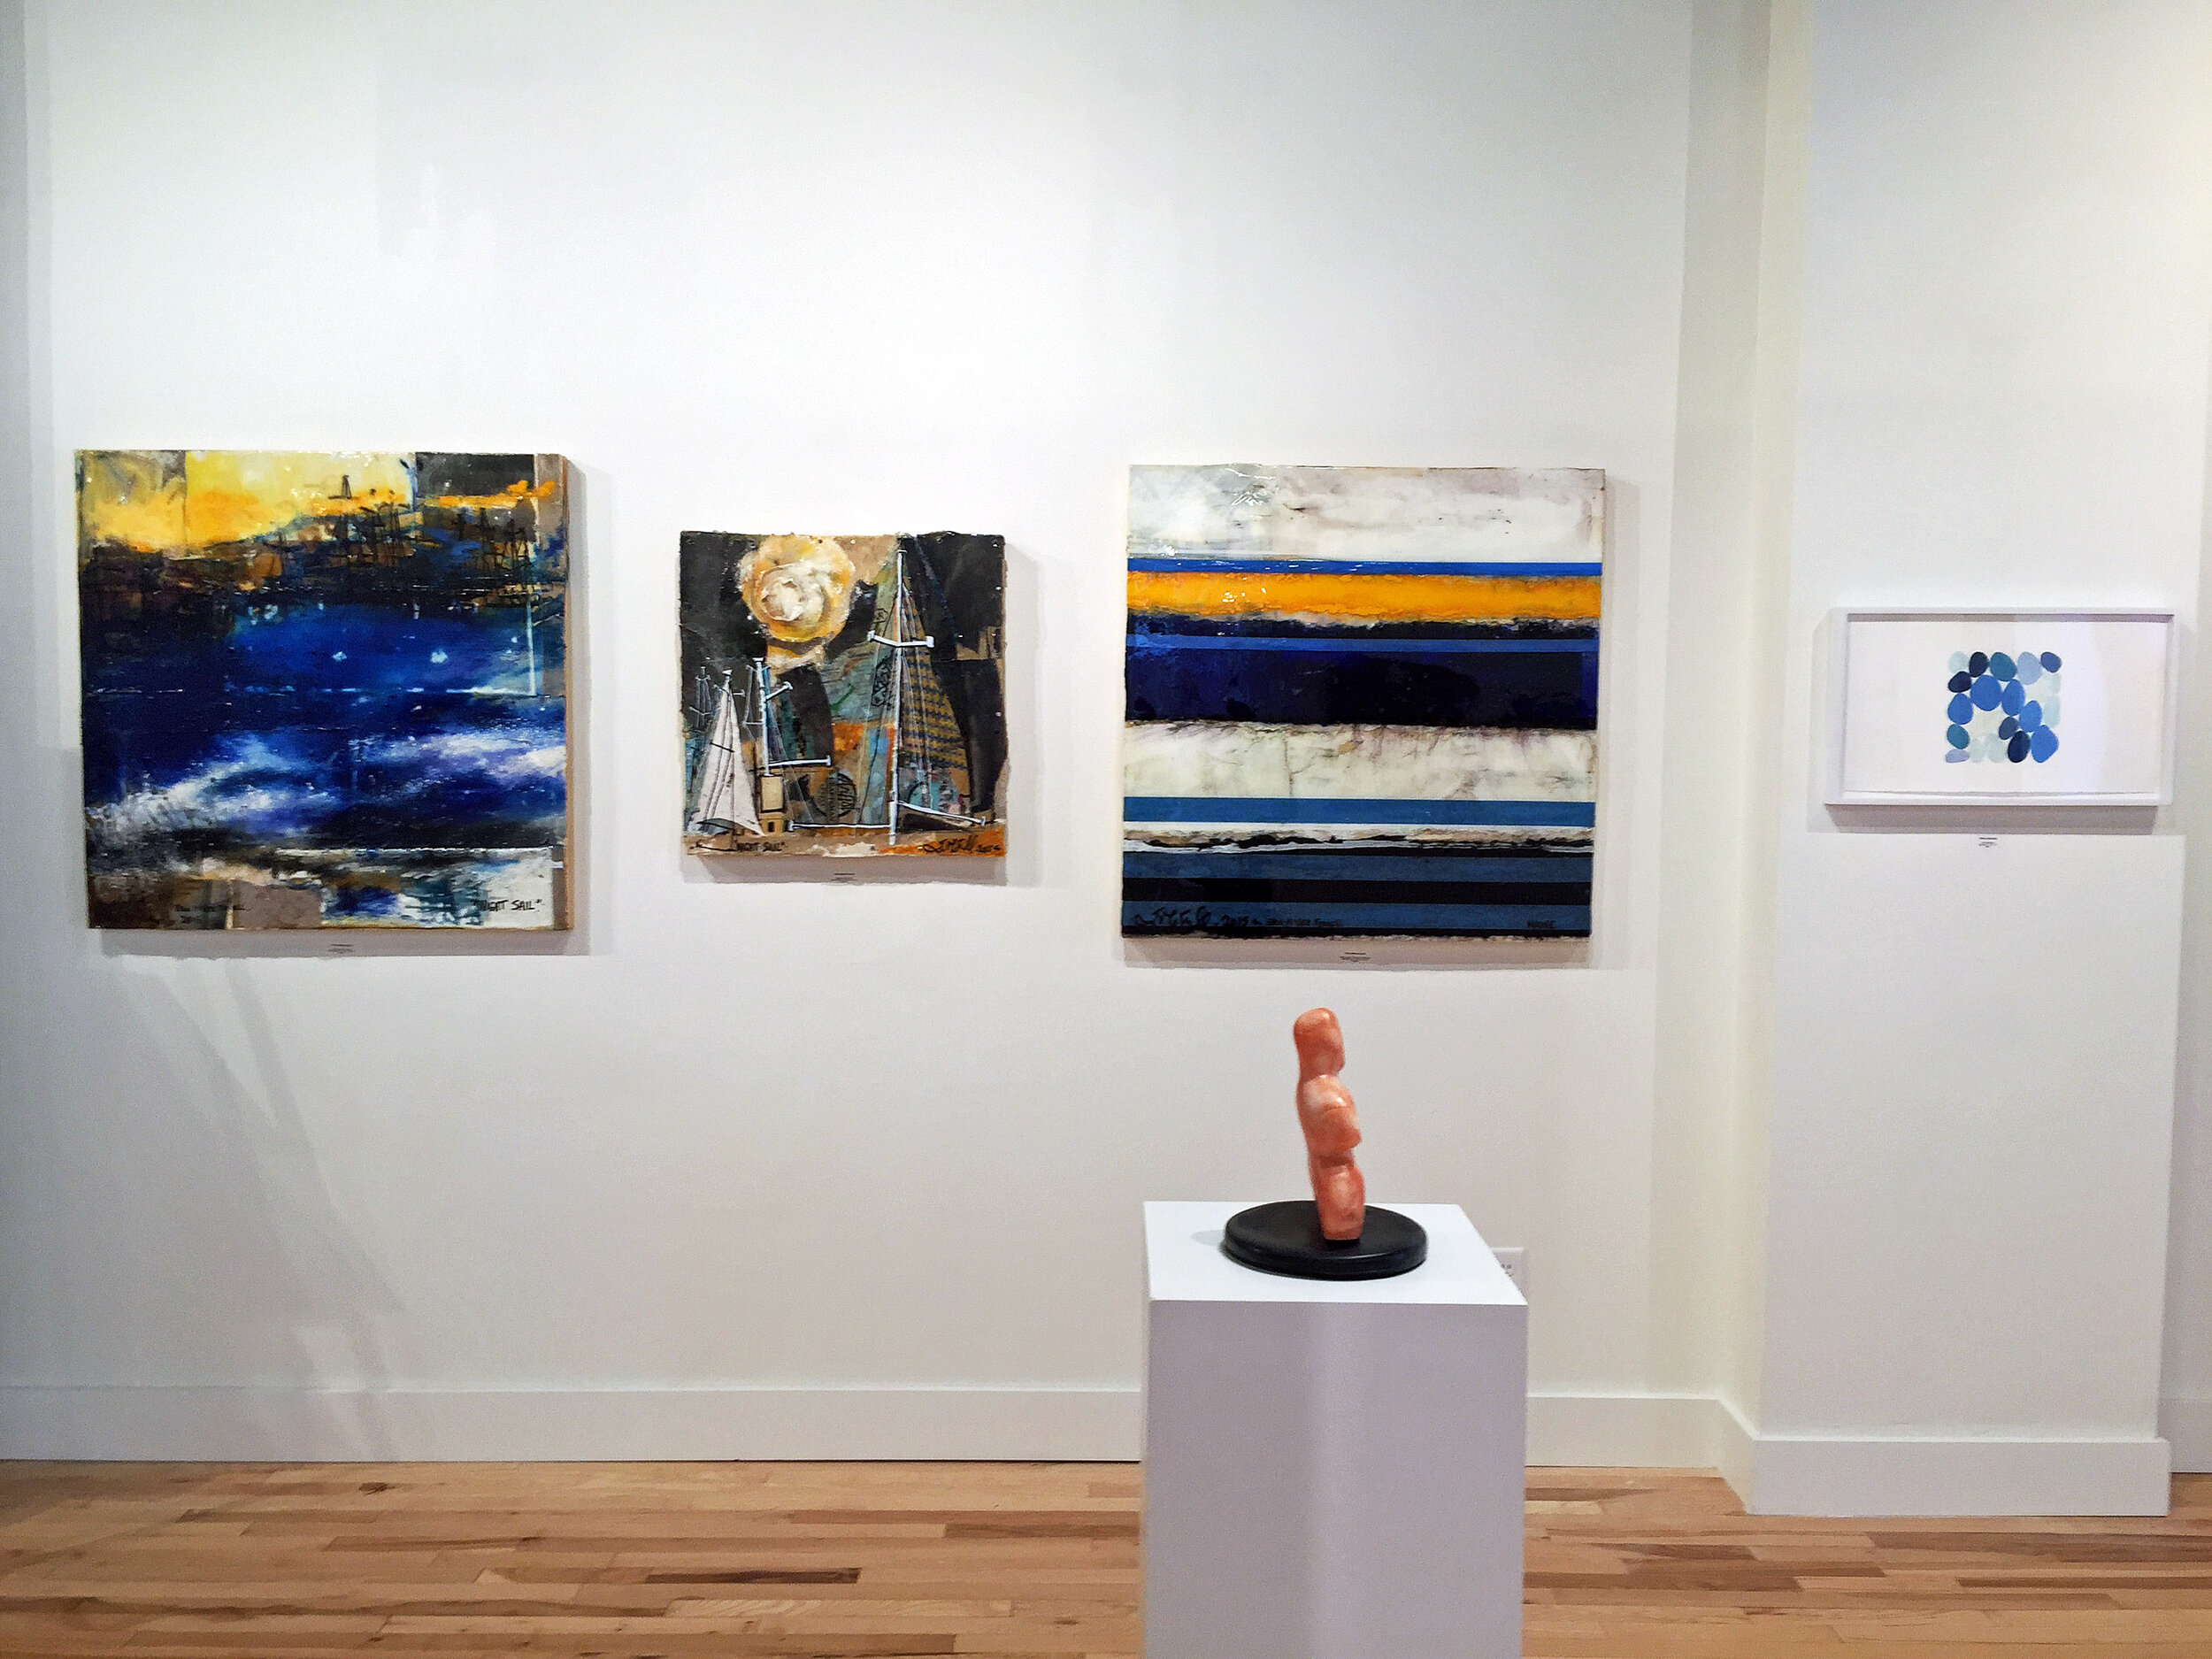
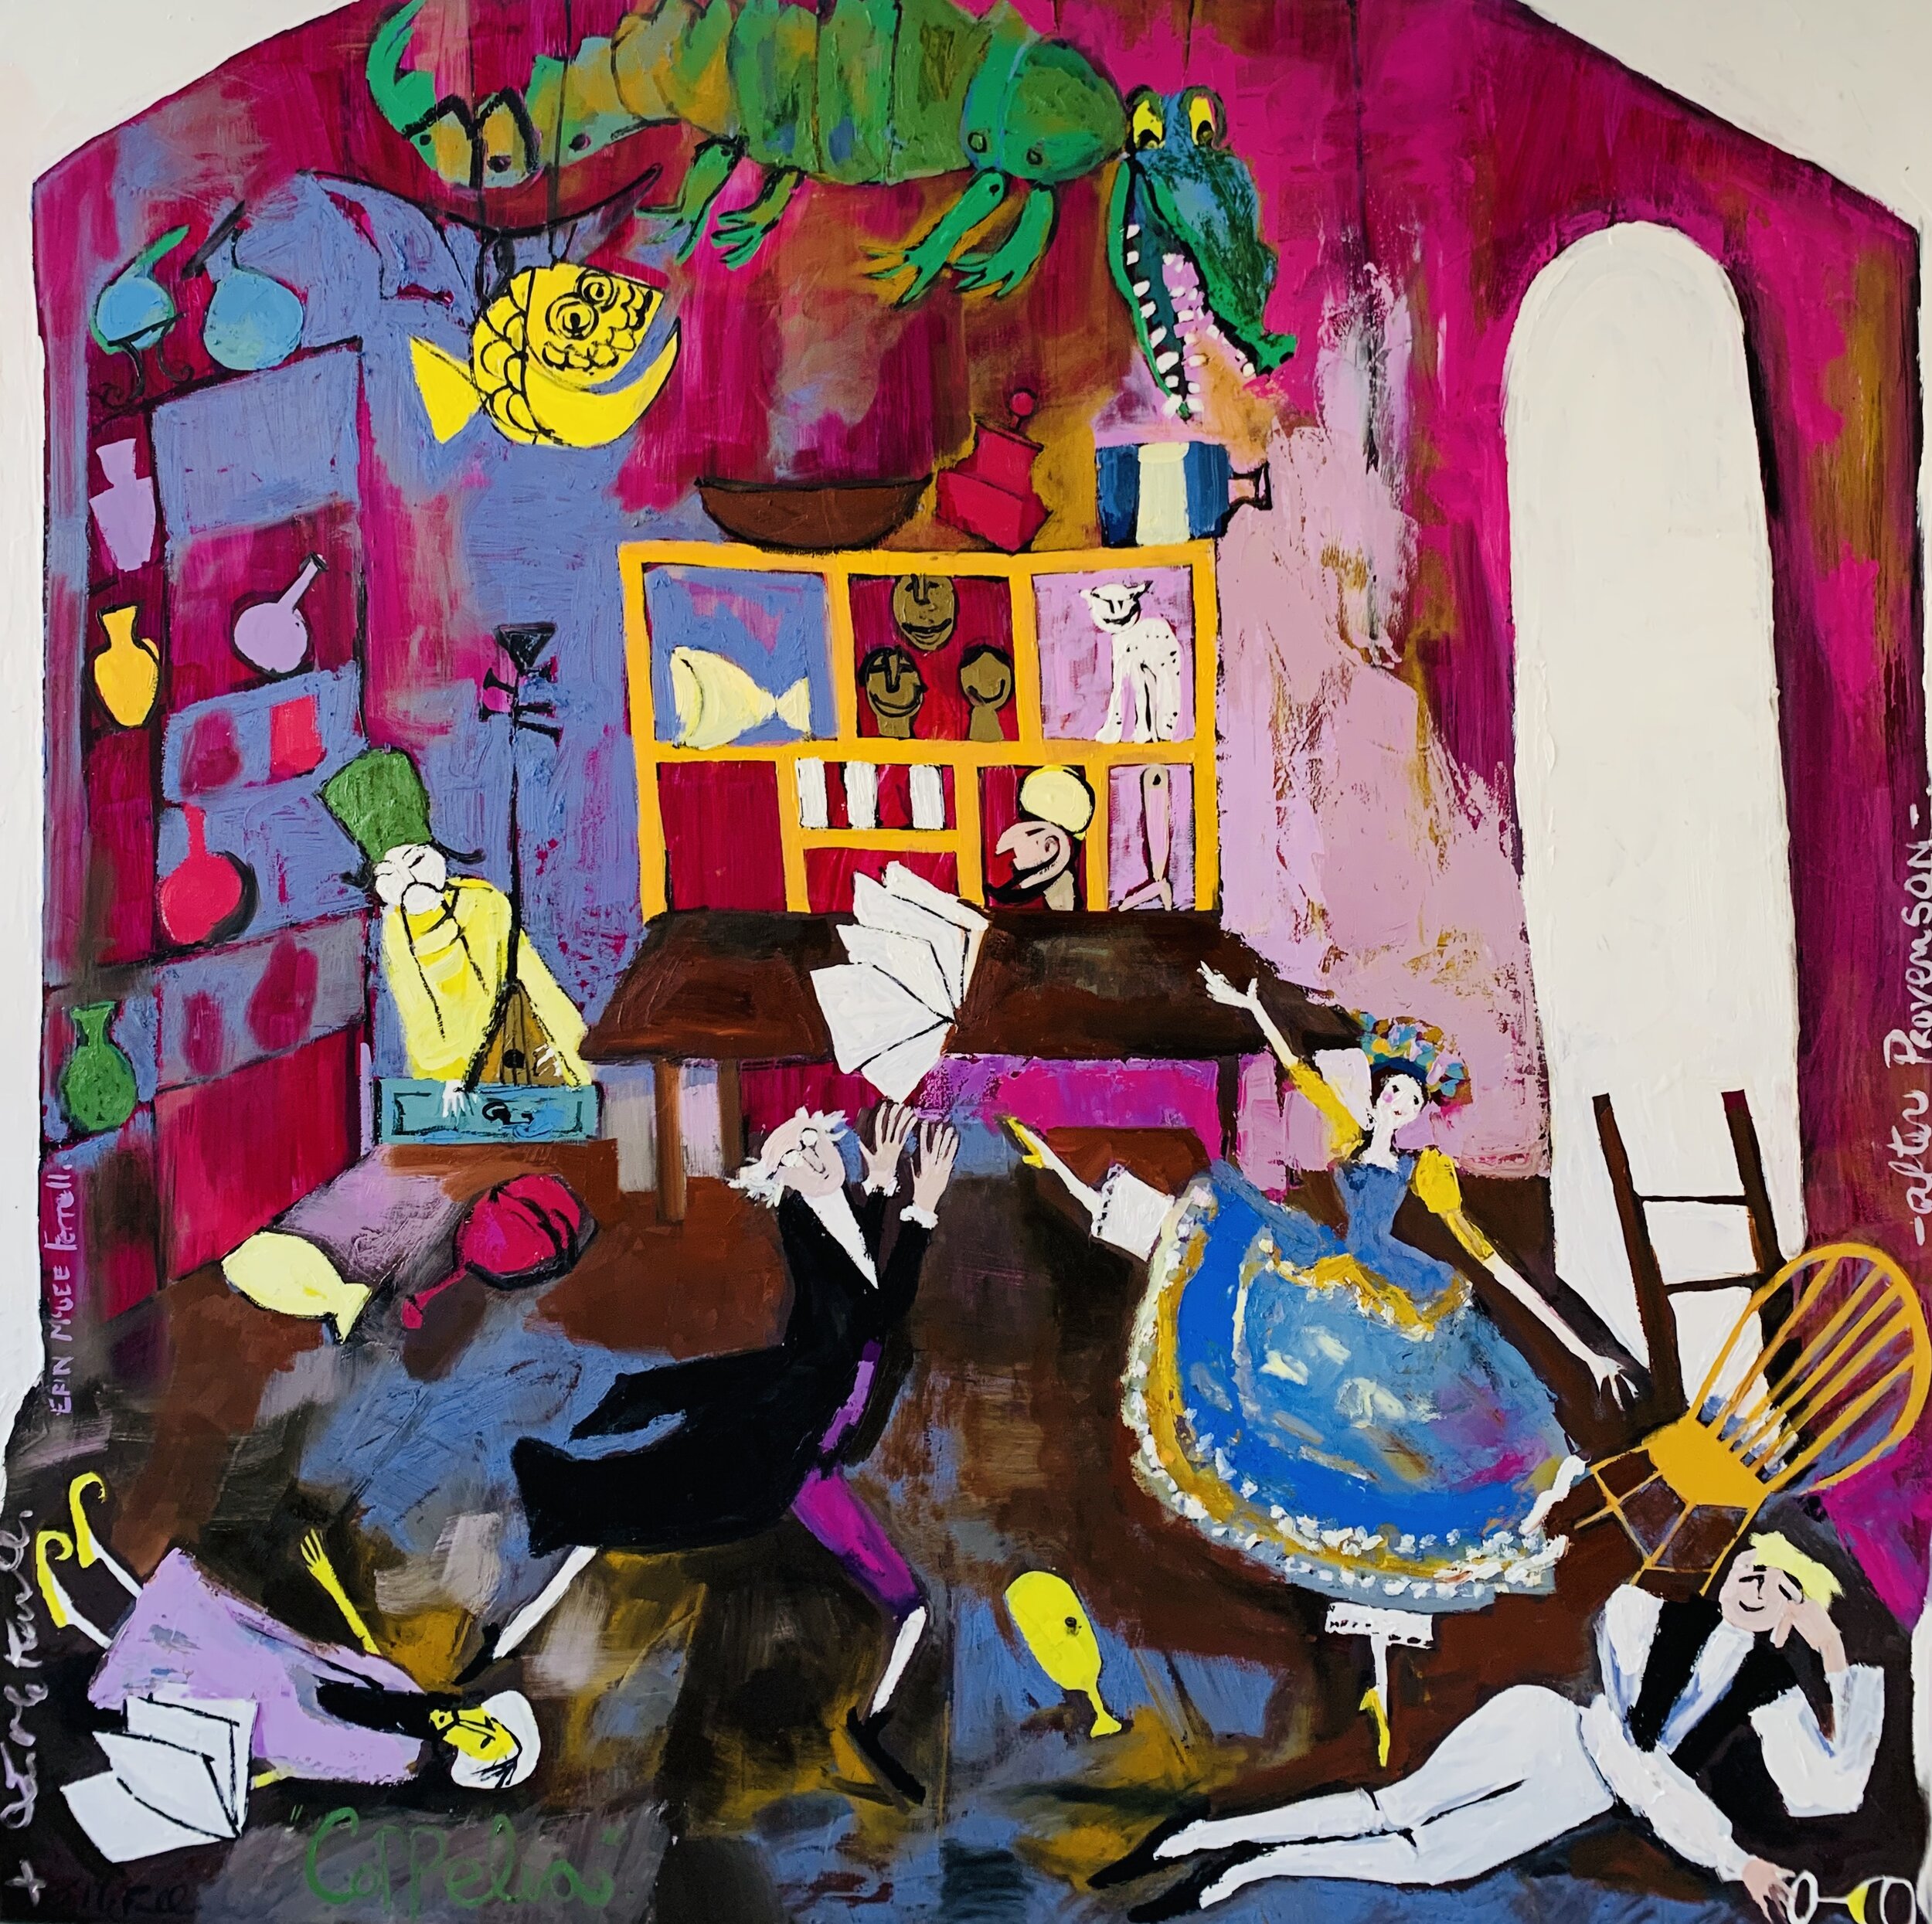
These are a few of Erin’s Paintings:


Watch Lesson Video:
Sorry, In the Lesson Video the part with Chef LaRee didn’t show. Click of the video of making Kentucky Biscuits after the class video to watch Chef LaRee.
Kandinsky Exercise:


Blind Contour and Modified Contour Drawing Exercise:


Continue to work and then Upload Art:
Look at Erin’s Website and see all her paintings.
Look at The Pirate Crew Paper Dolls.

Bonus Videos

Next Lesson: Claude Monet

3. Lesson: Claude Monet
Lesson: Claude Monet

Let’s Begin.
Impressionism is a style of painting that tries to get the look and feel of a scene right at the moment it was painted. Monet was interested in the effects of light and its relationship with color.

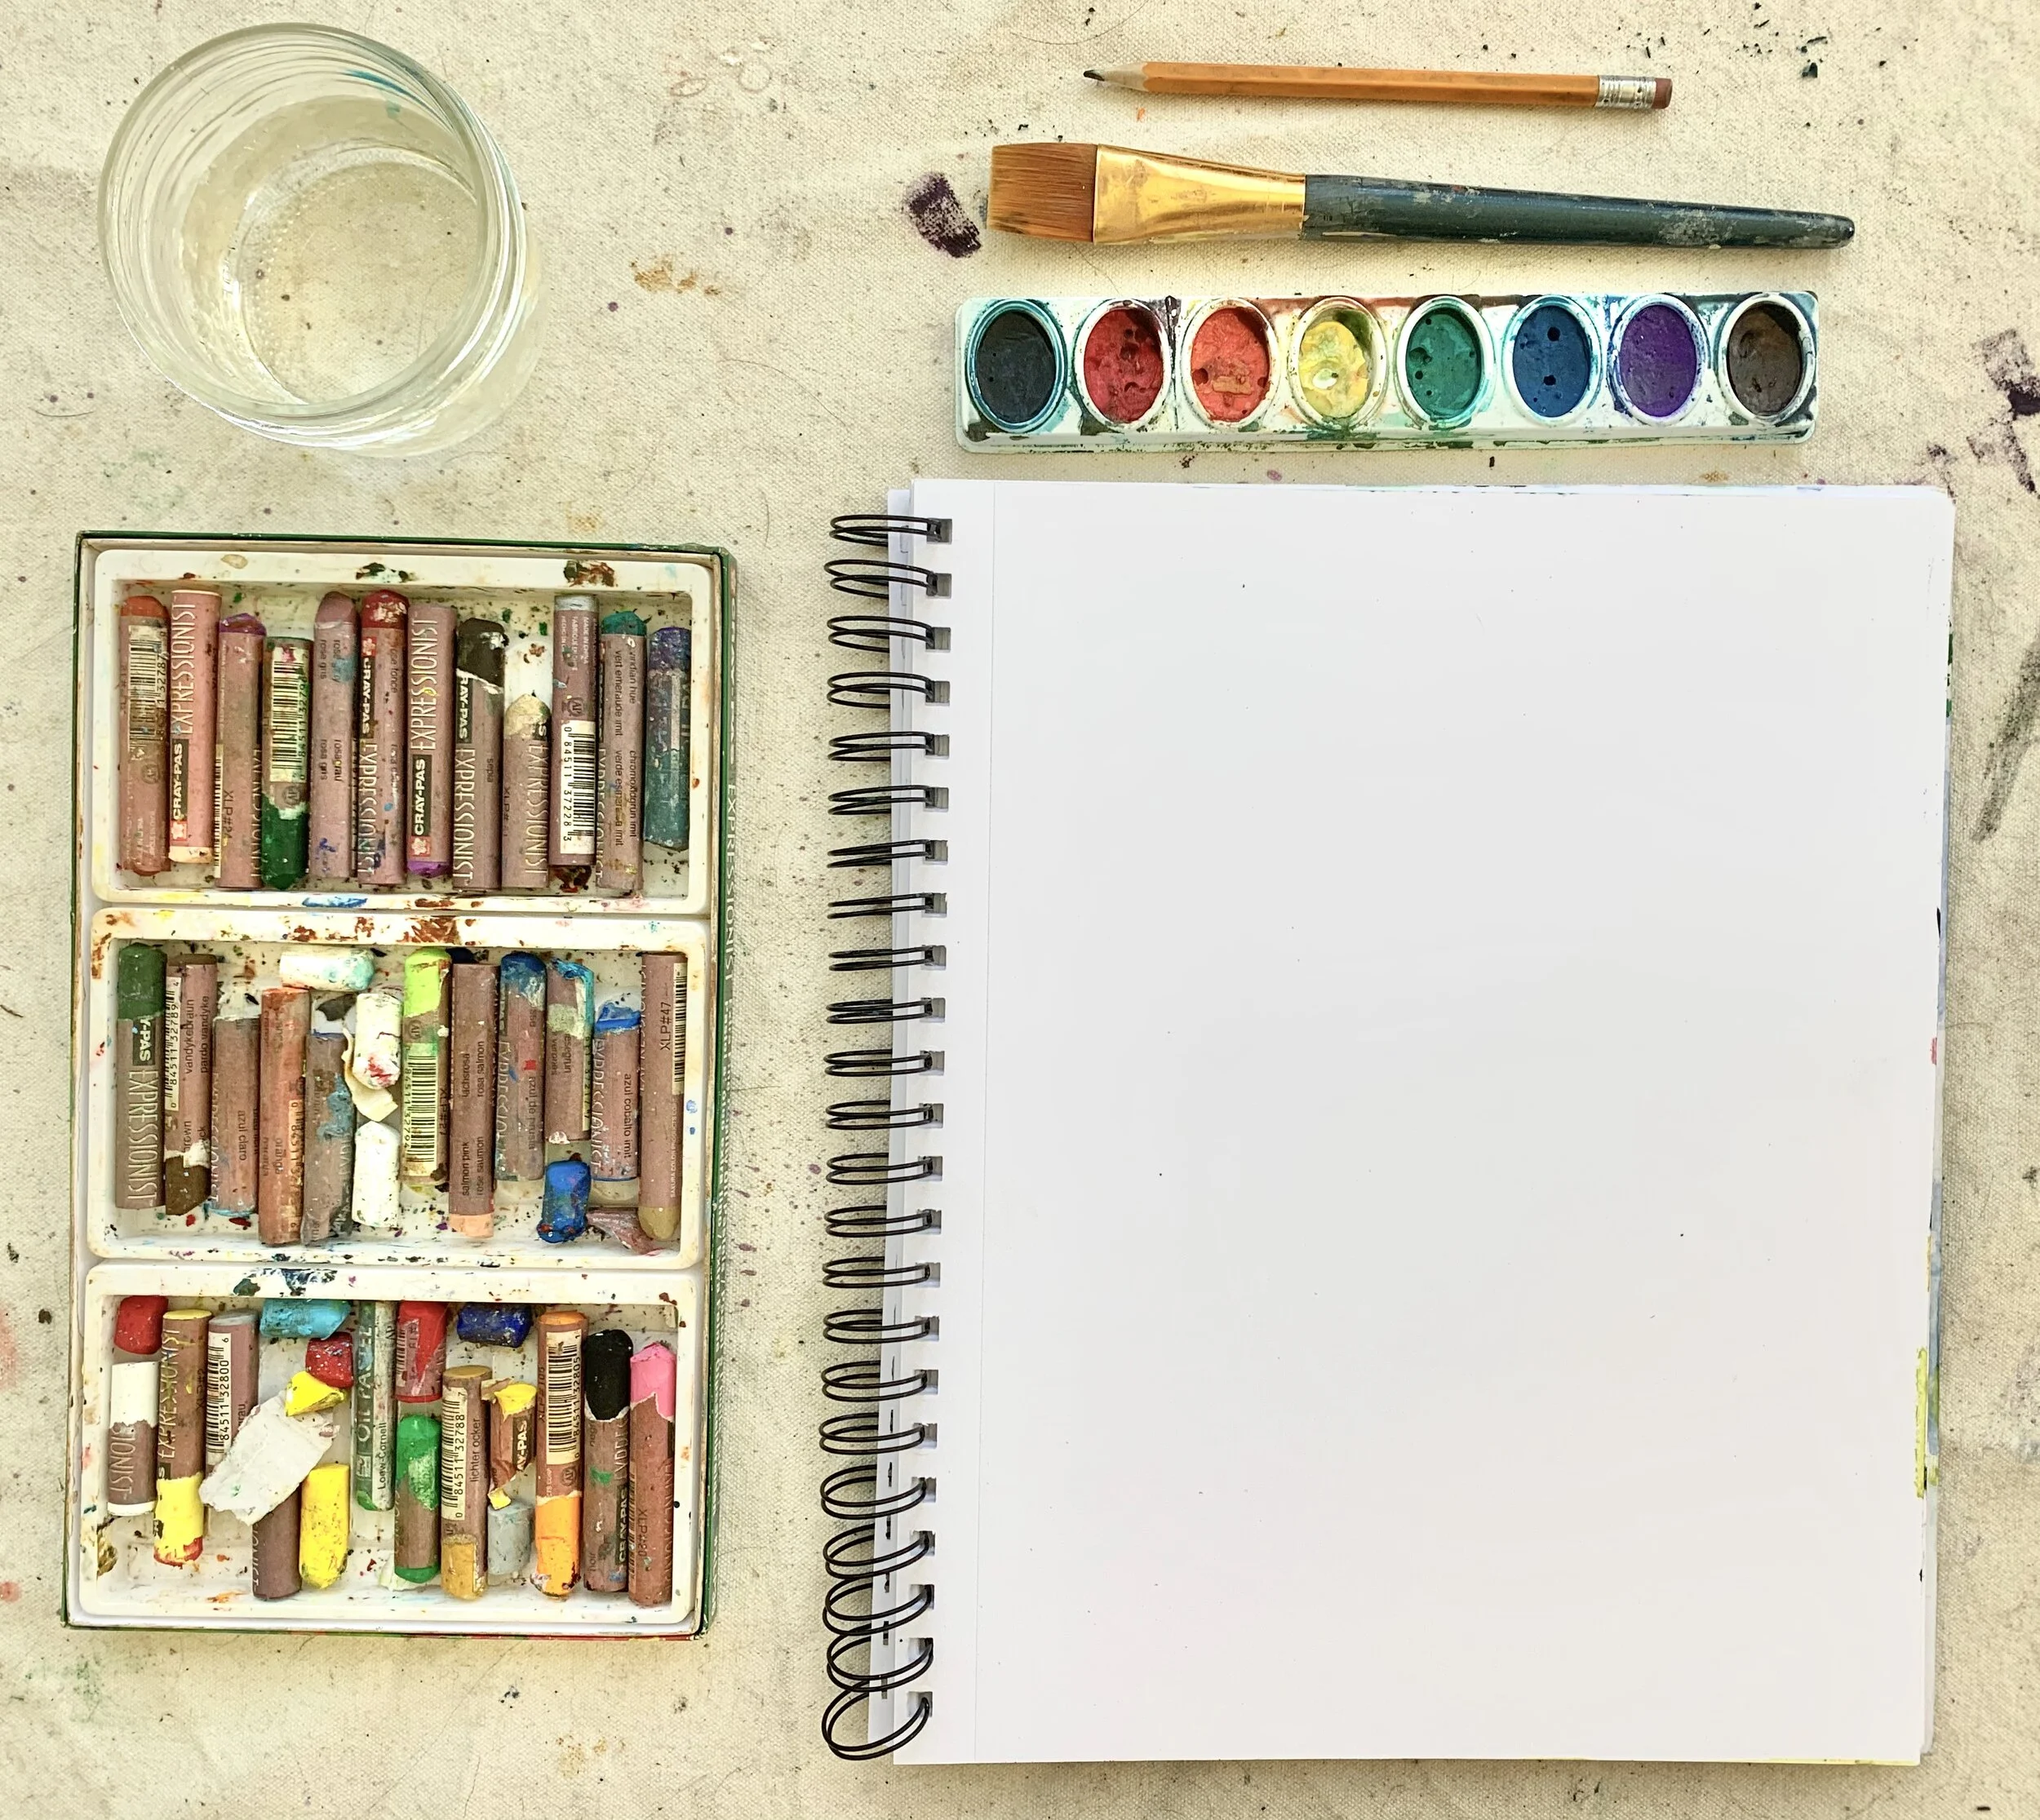
Gather Materials

Thicker White Paper (Mixed media or watercolor)
Paint Brush
cup with water
tablespoon of salt
watercolor paint (Blues and Greens)
Oil Pastels

Did you know?
Claude Monet’s nickname as a child was Oscar.
Claude Monet’s nickname in his 20’s was Dandy. He liked to wear fancy shirts with ruffles sleeves.
Monet ate beans for two months straight because he didn’t have enough money for other kinds of food.
Monet painted from a floating Art Studio Boat when he was older.
Watch Lesson Video
Chef LaRee As Claude Monet. BEANS

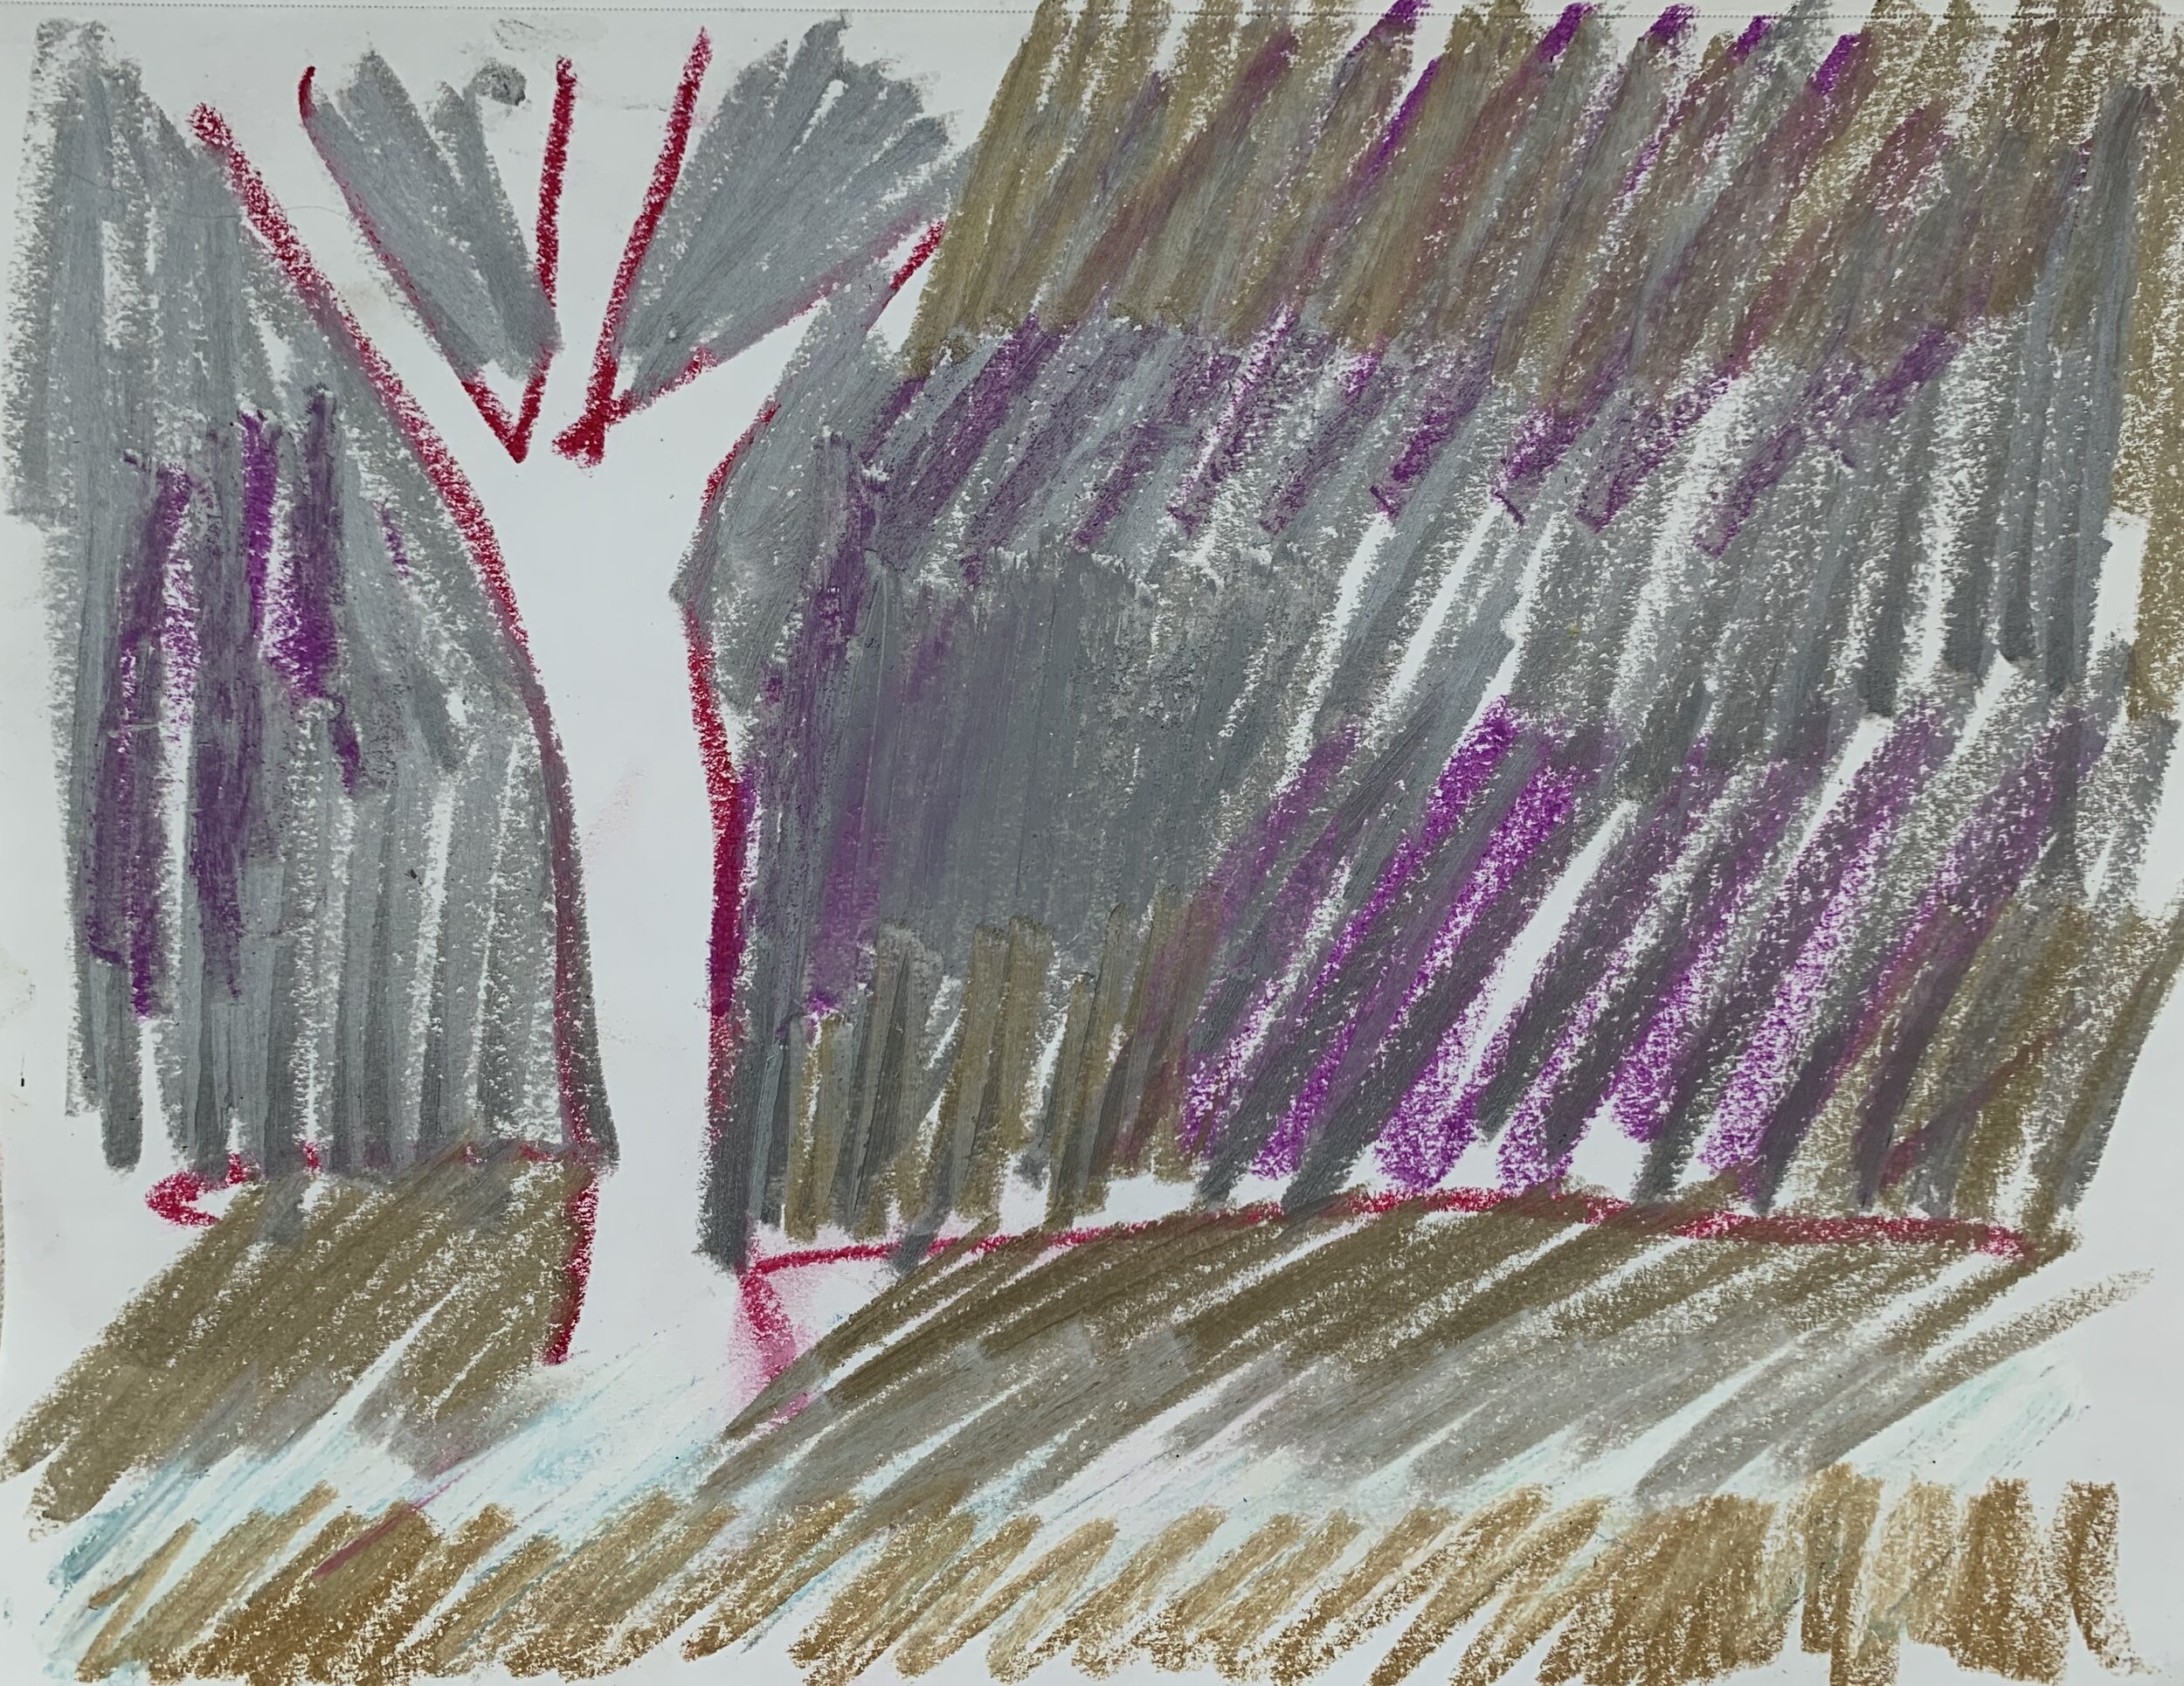
Exercise 1: Single tree, different times of day and season. Light and color changes.


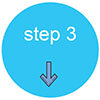
Exercise 2: Monet’s Bridge with water lilies


Finish Art and Share to Youth Gallery
Books I read:


Next Lesson Preview: West African Masks
4. Lesson: Nigerian Masks
Lesson Promo
Special Guest: African Art Collector- John David McGee
Let’s Begin:

Gather Materials:

Two pieces of same size paper. Each a different color
pencil or pen
scissors
glue stick or bottled glue
(You don’t need the coffee!)

Watch Lesson:
Extra Video Clips:
African Art Collector- John David McGee Talk:
Chef LaRee Prepares Mango Salsa
Tropical Mango Salsa by Chef LaRee
2 Mangos, peeled, pit removed, diced
2 cups Papaya, peeled, seeds removed, diced
1 Ripe Avocado, pitted and diced
1/4 cup Red Onion Diced
1/2 bunch Cilantro, chopped
3 Tbsp Apple Cider Vinegar
To Taste Kosher Salt or sea salt
Juice of one lime
Mix all ingredients together except the salt. Taste and then add some of the salt. This fresh salsa is meant to be made and eaten right away.

Finish Mask and share your Art to Gallery:


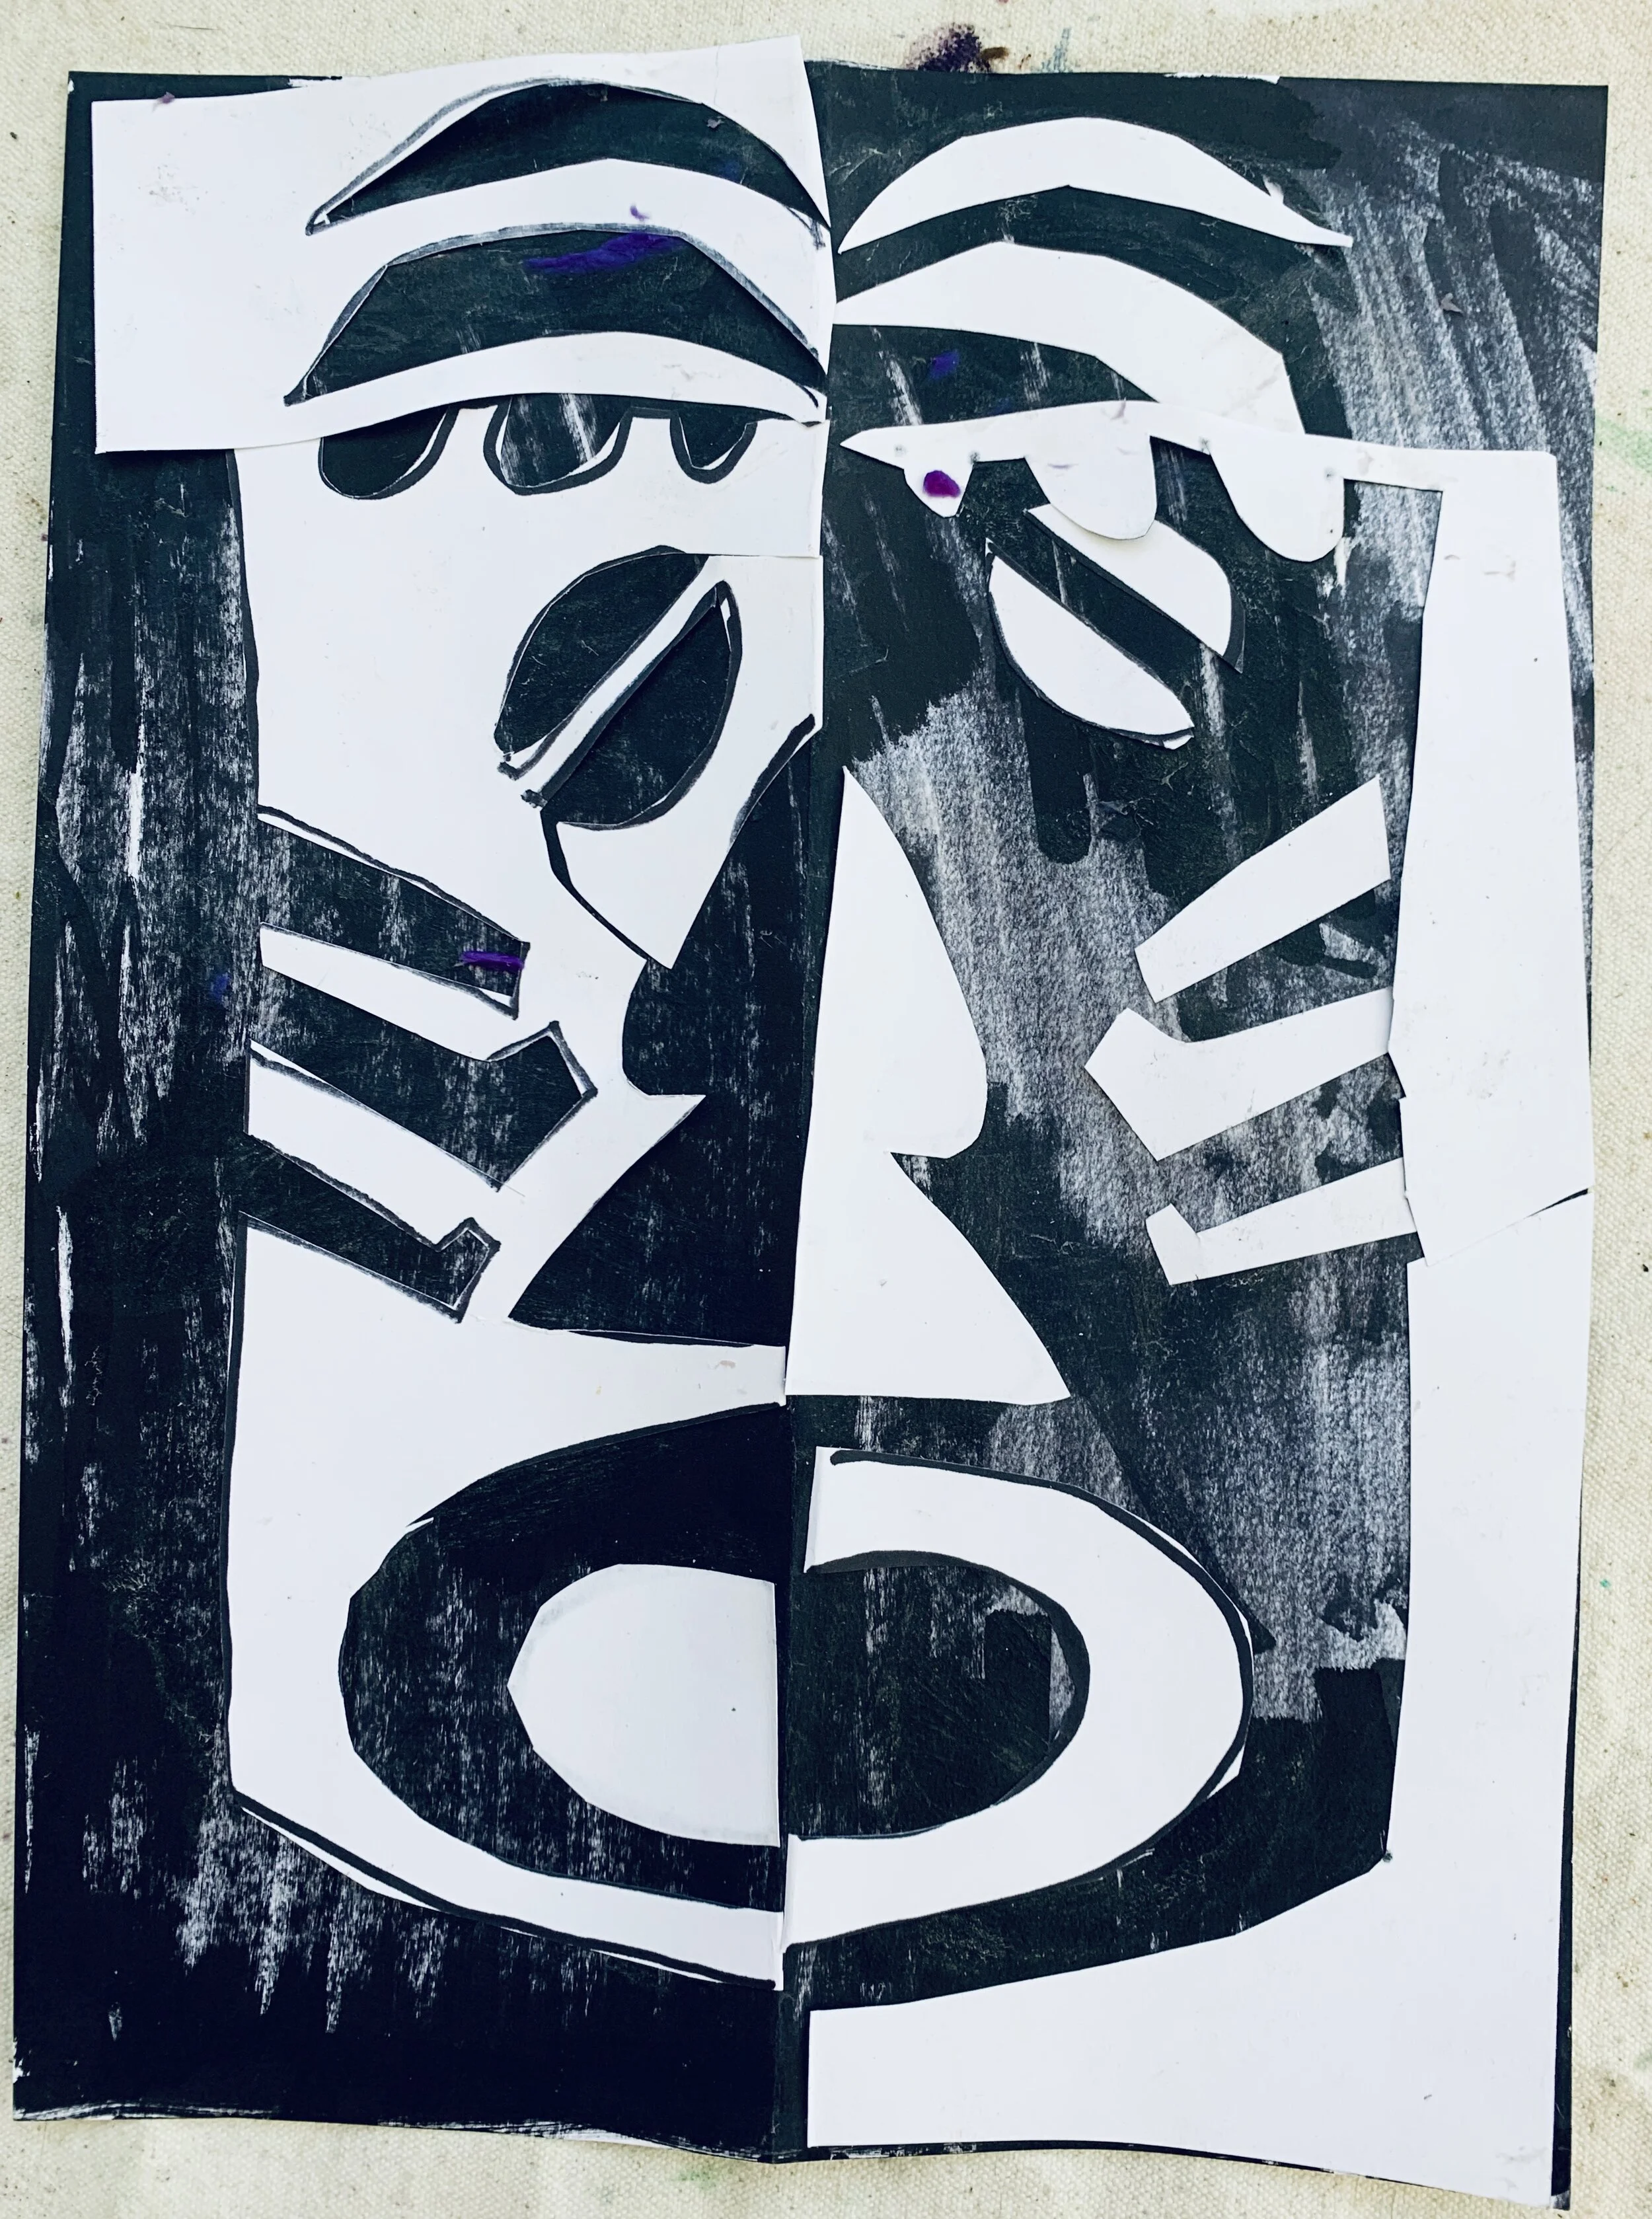
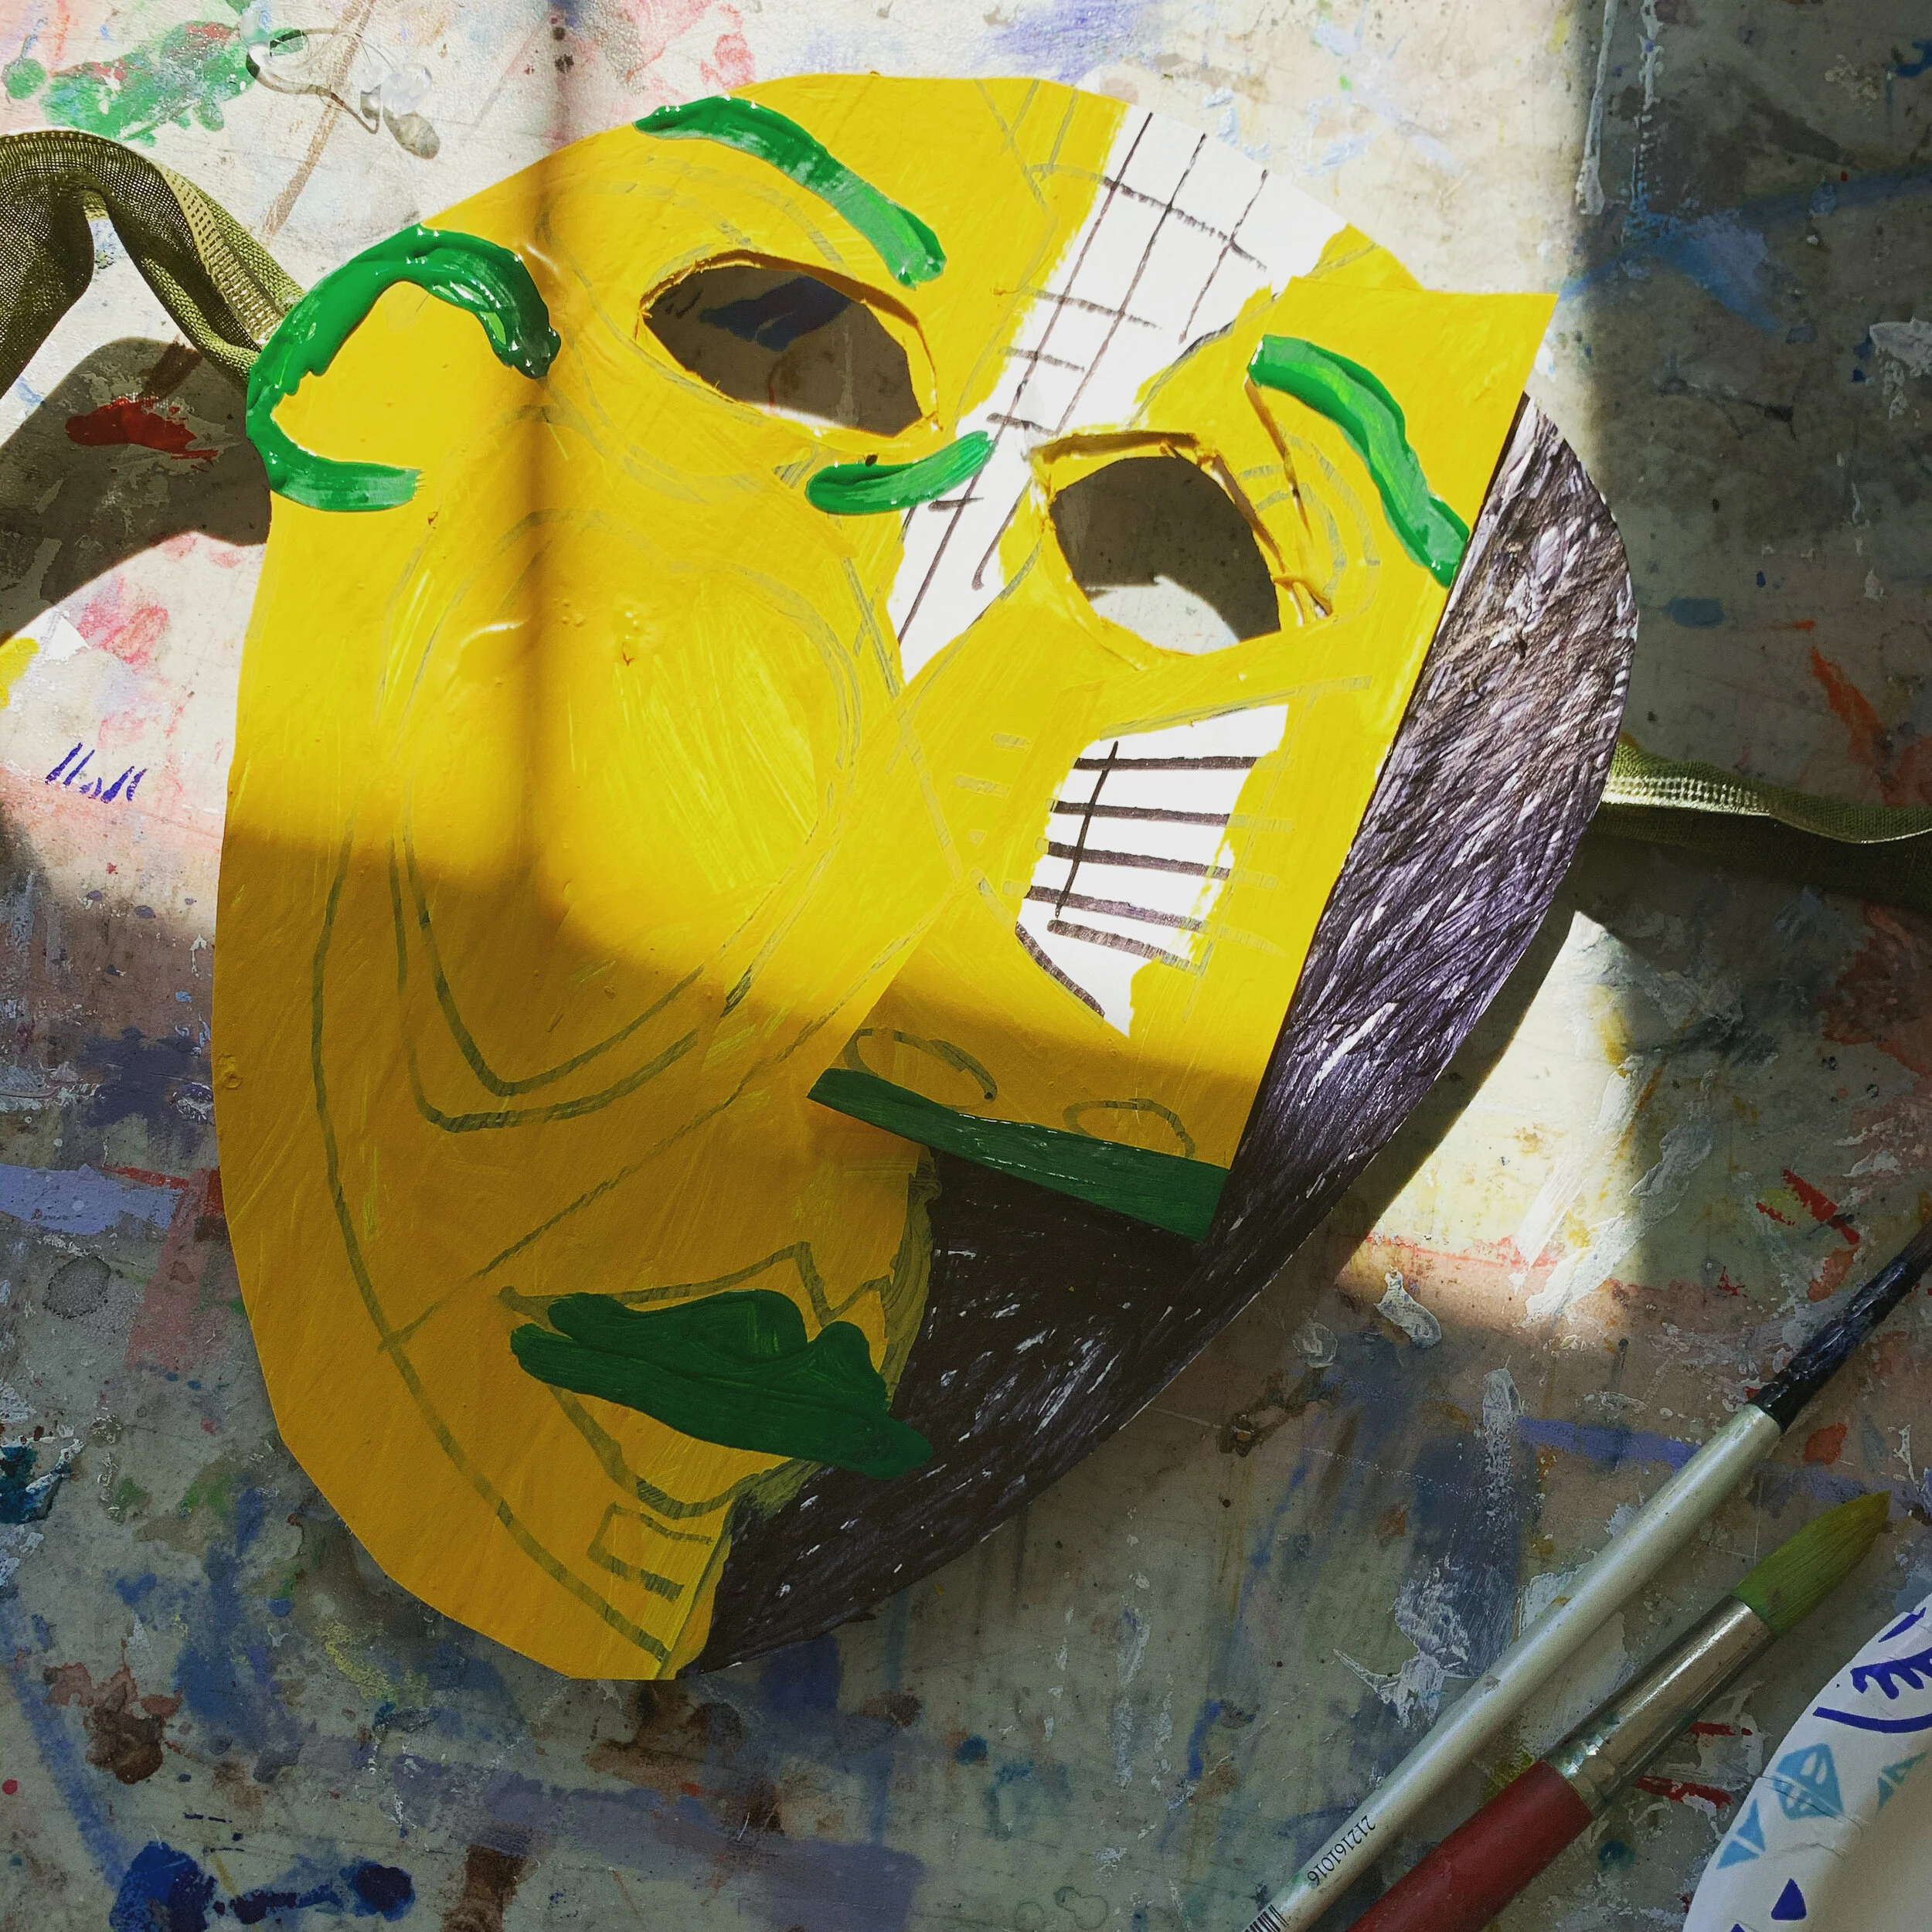
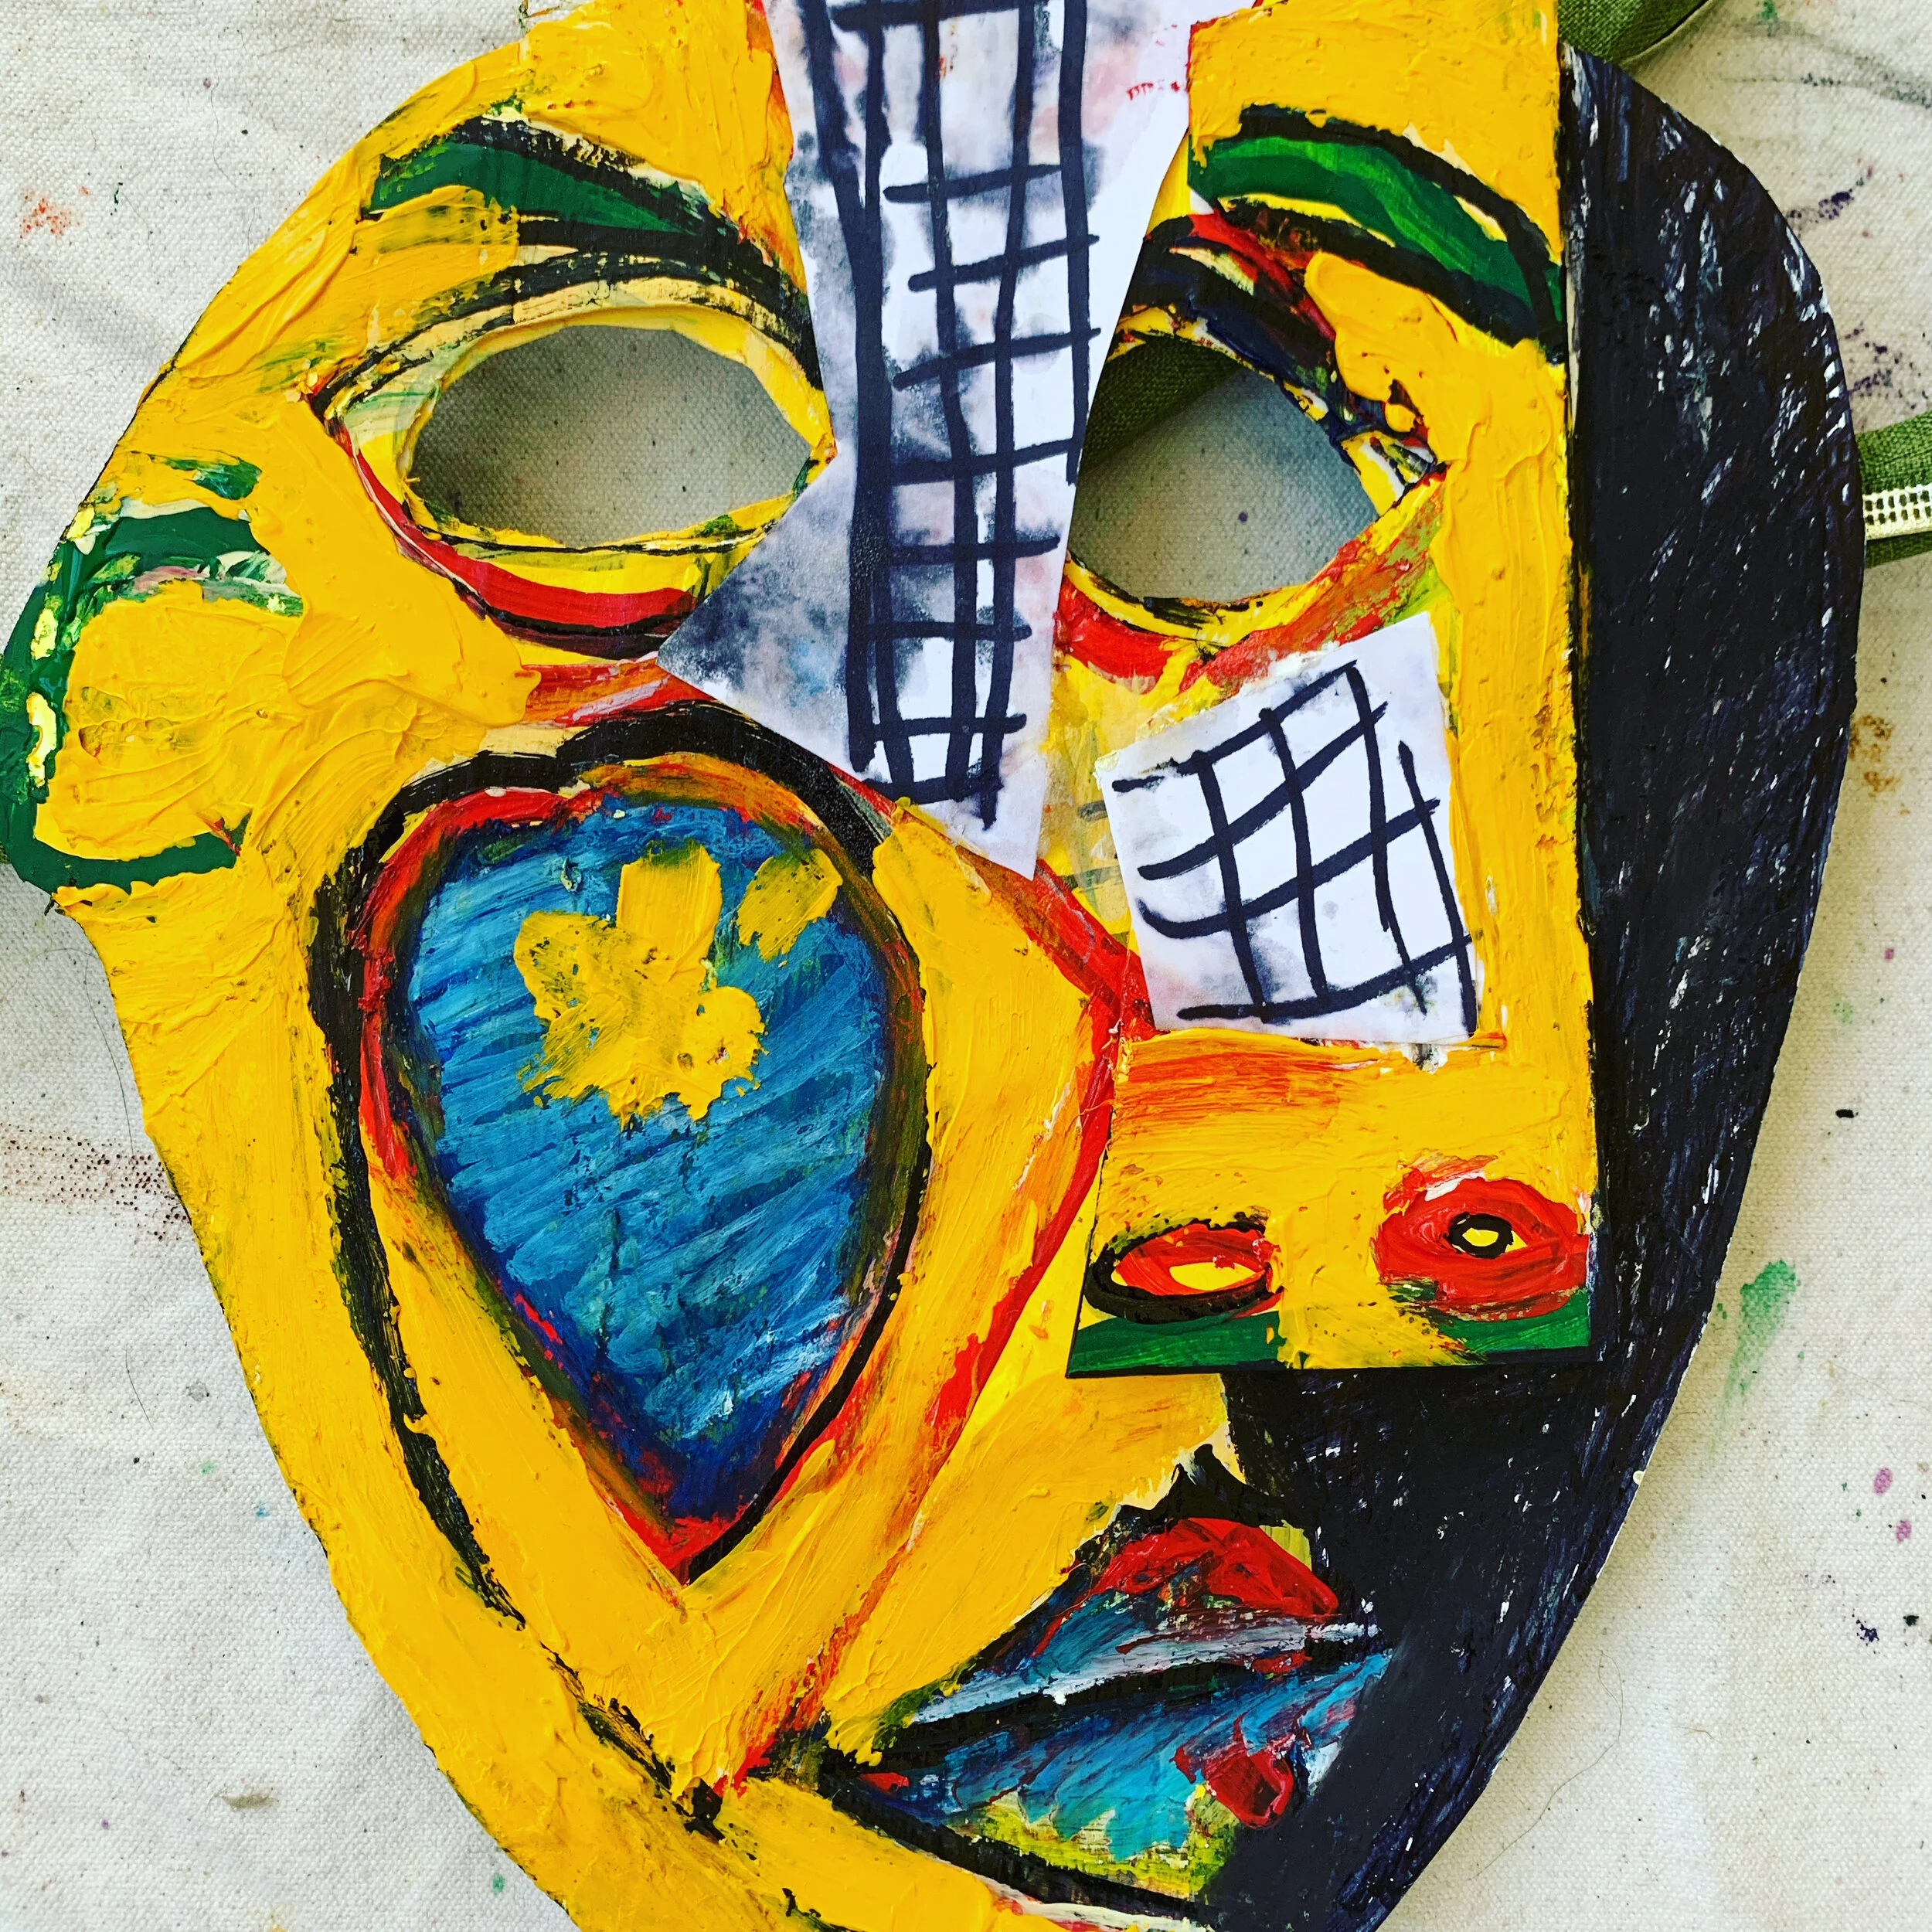
Fold each paper in half. Length wise
cut the lighter colored paper in half along the fold
draw 1/2 of the mask on the half of paper (demonstrated in video)
cut and paste facial features on opposite paper (demonstrated in video)


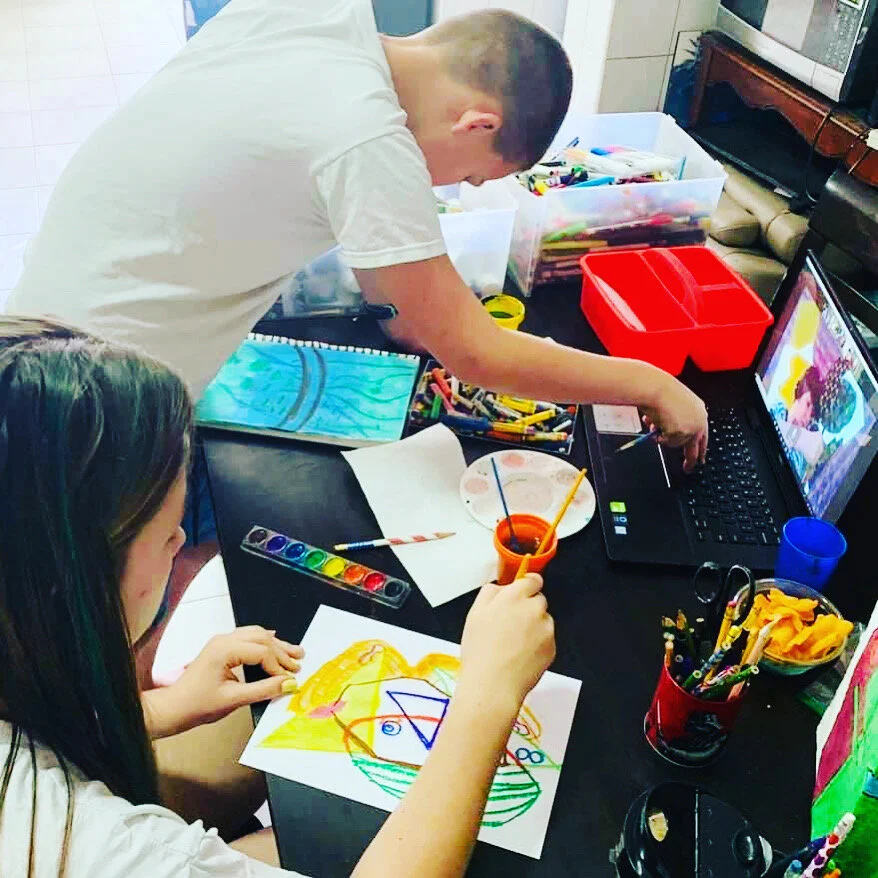
Photos of lesson in action:


Promo for next lesson: Picasso

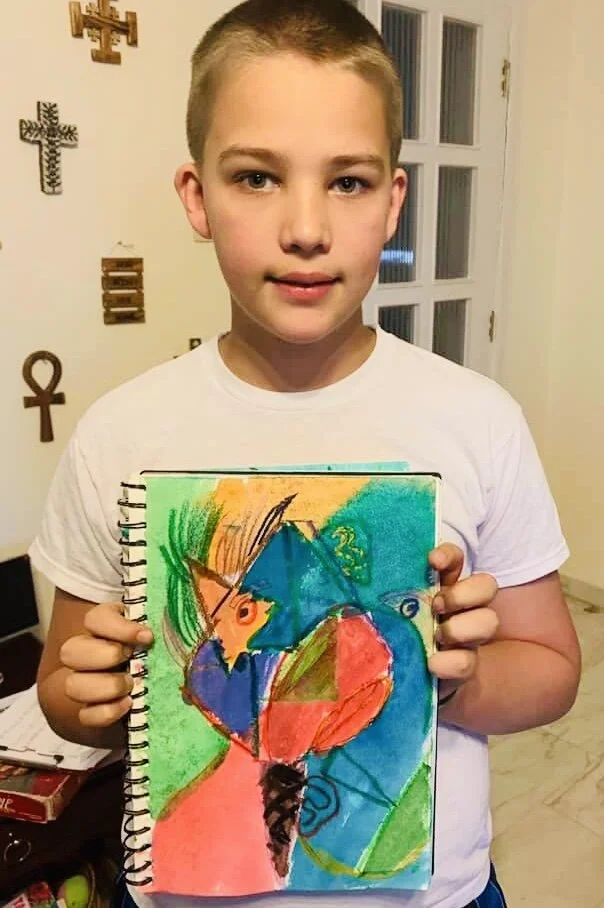
5. Lesson: Picasso
Lesson Promo:
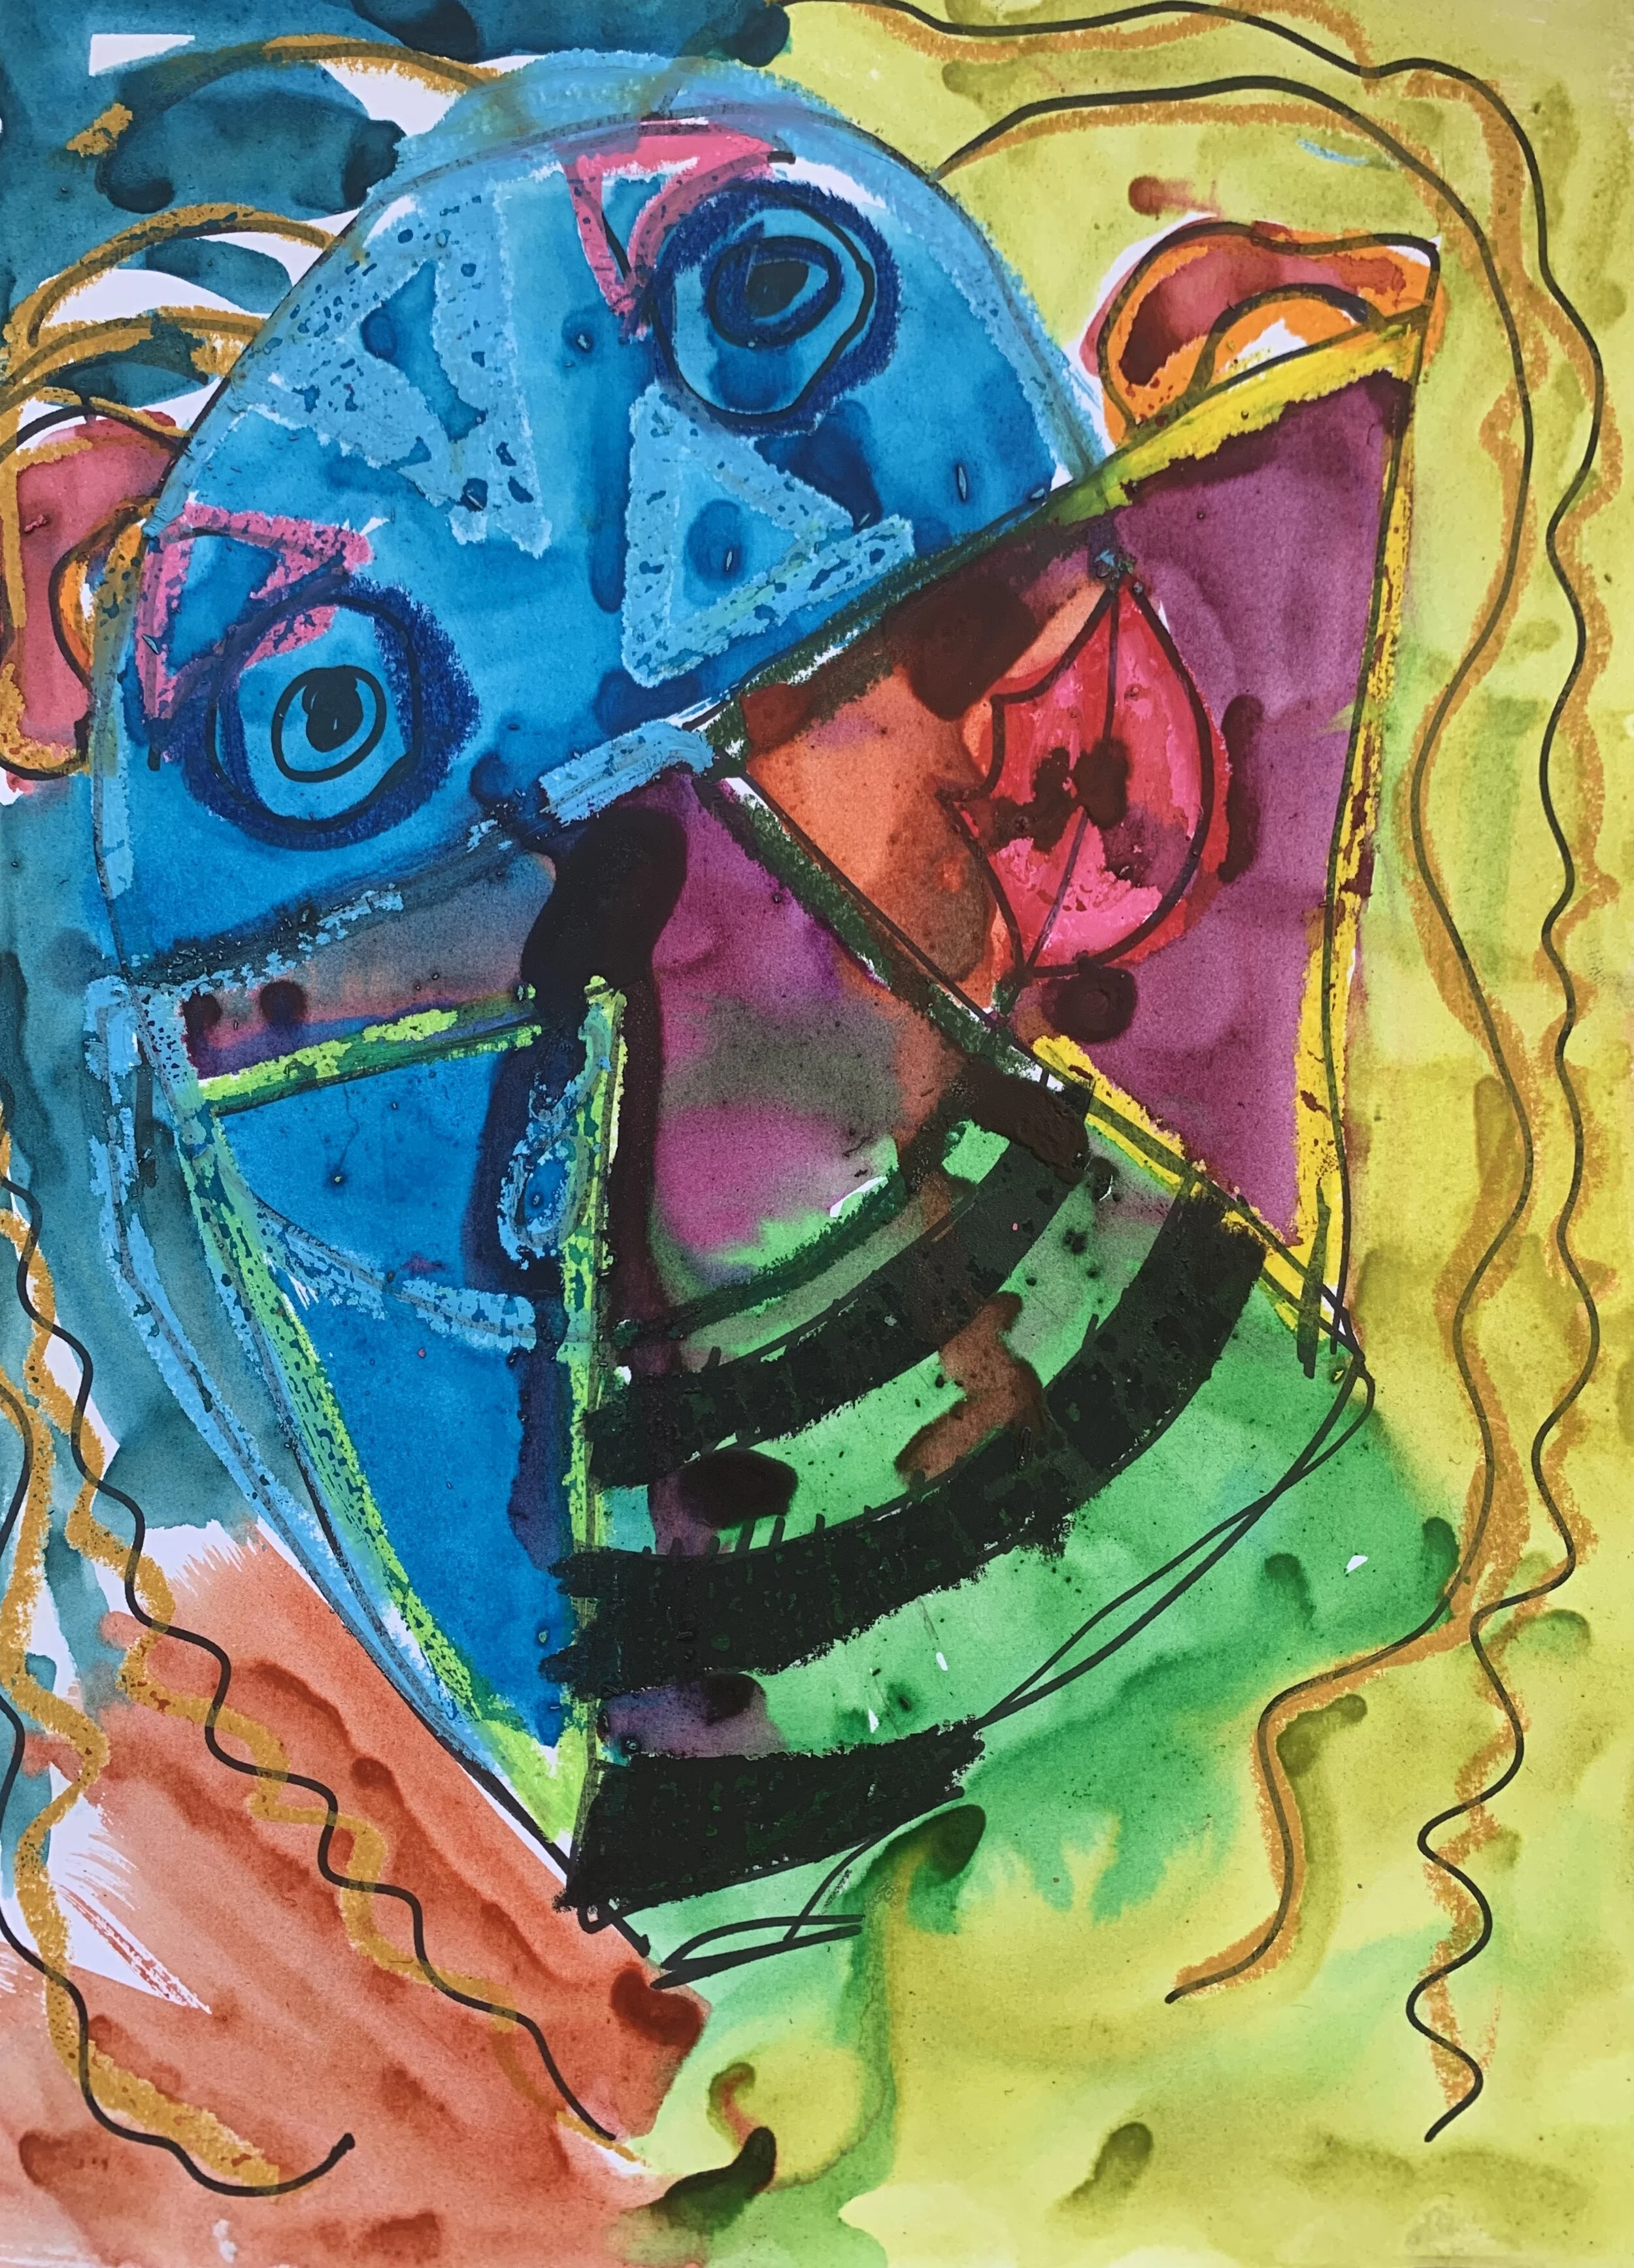
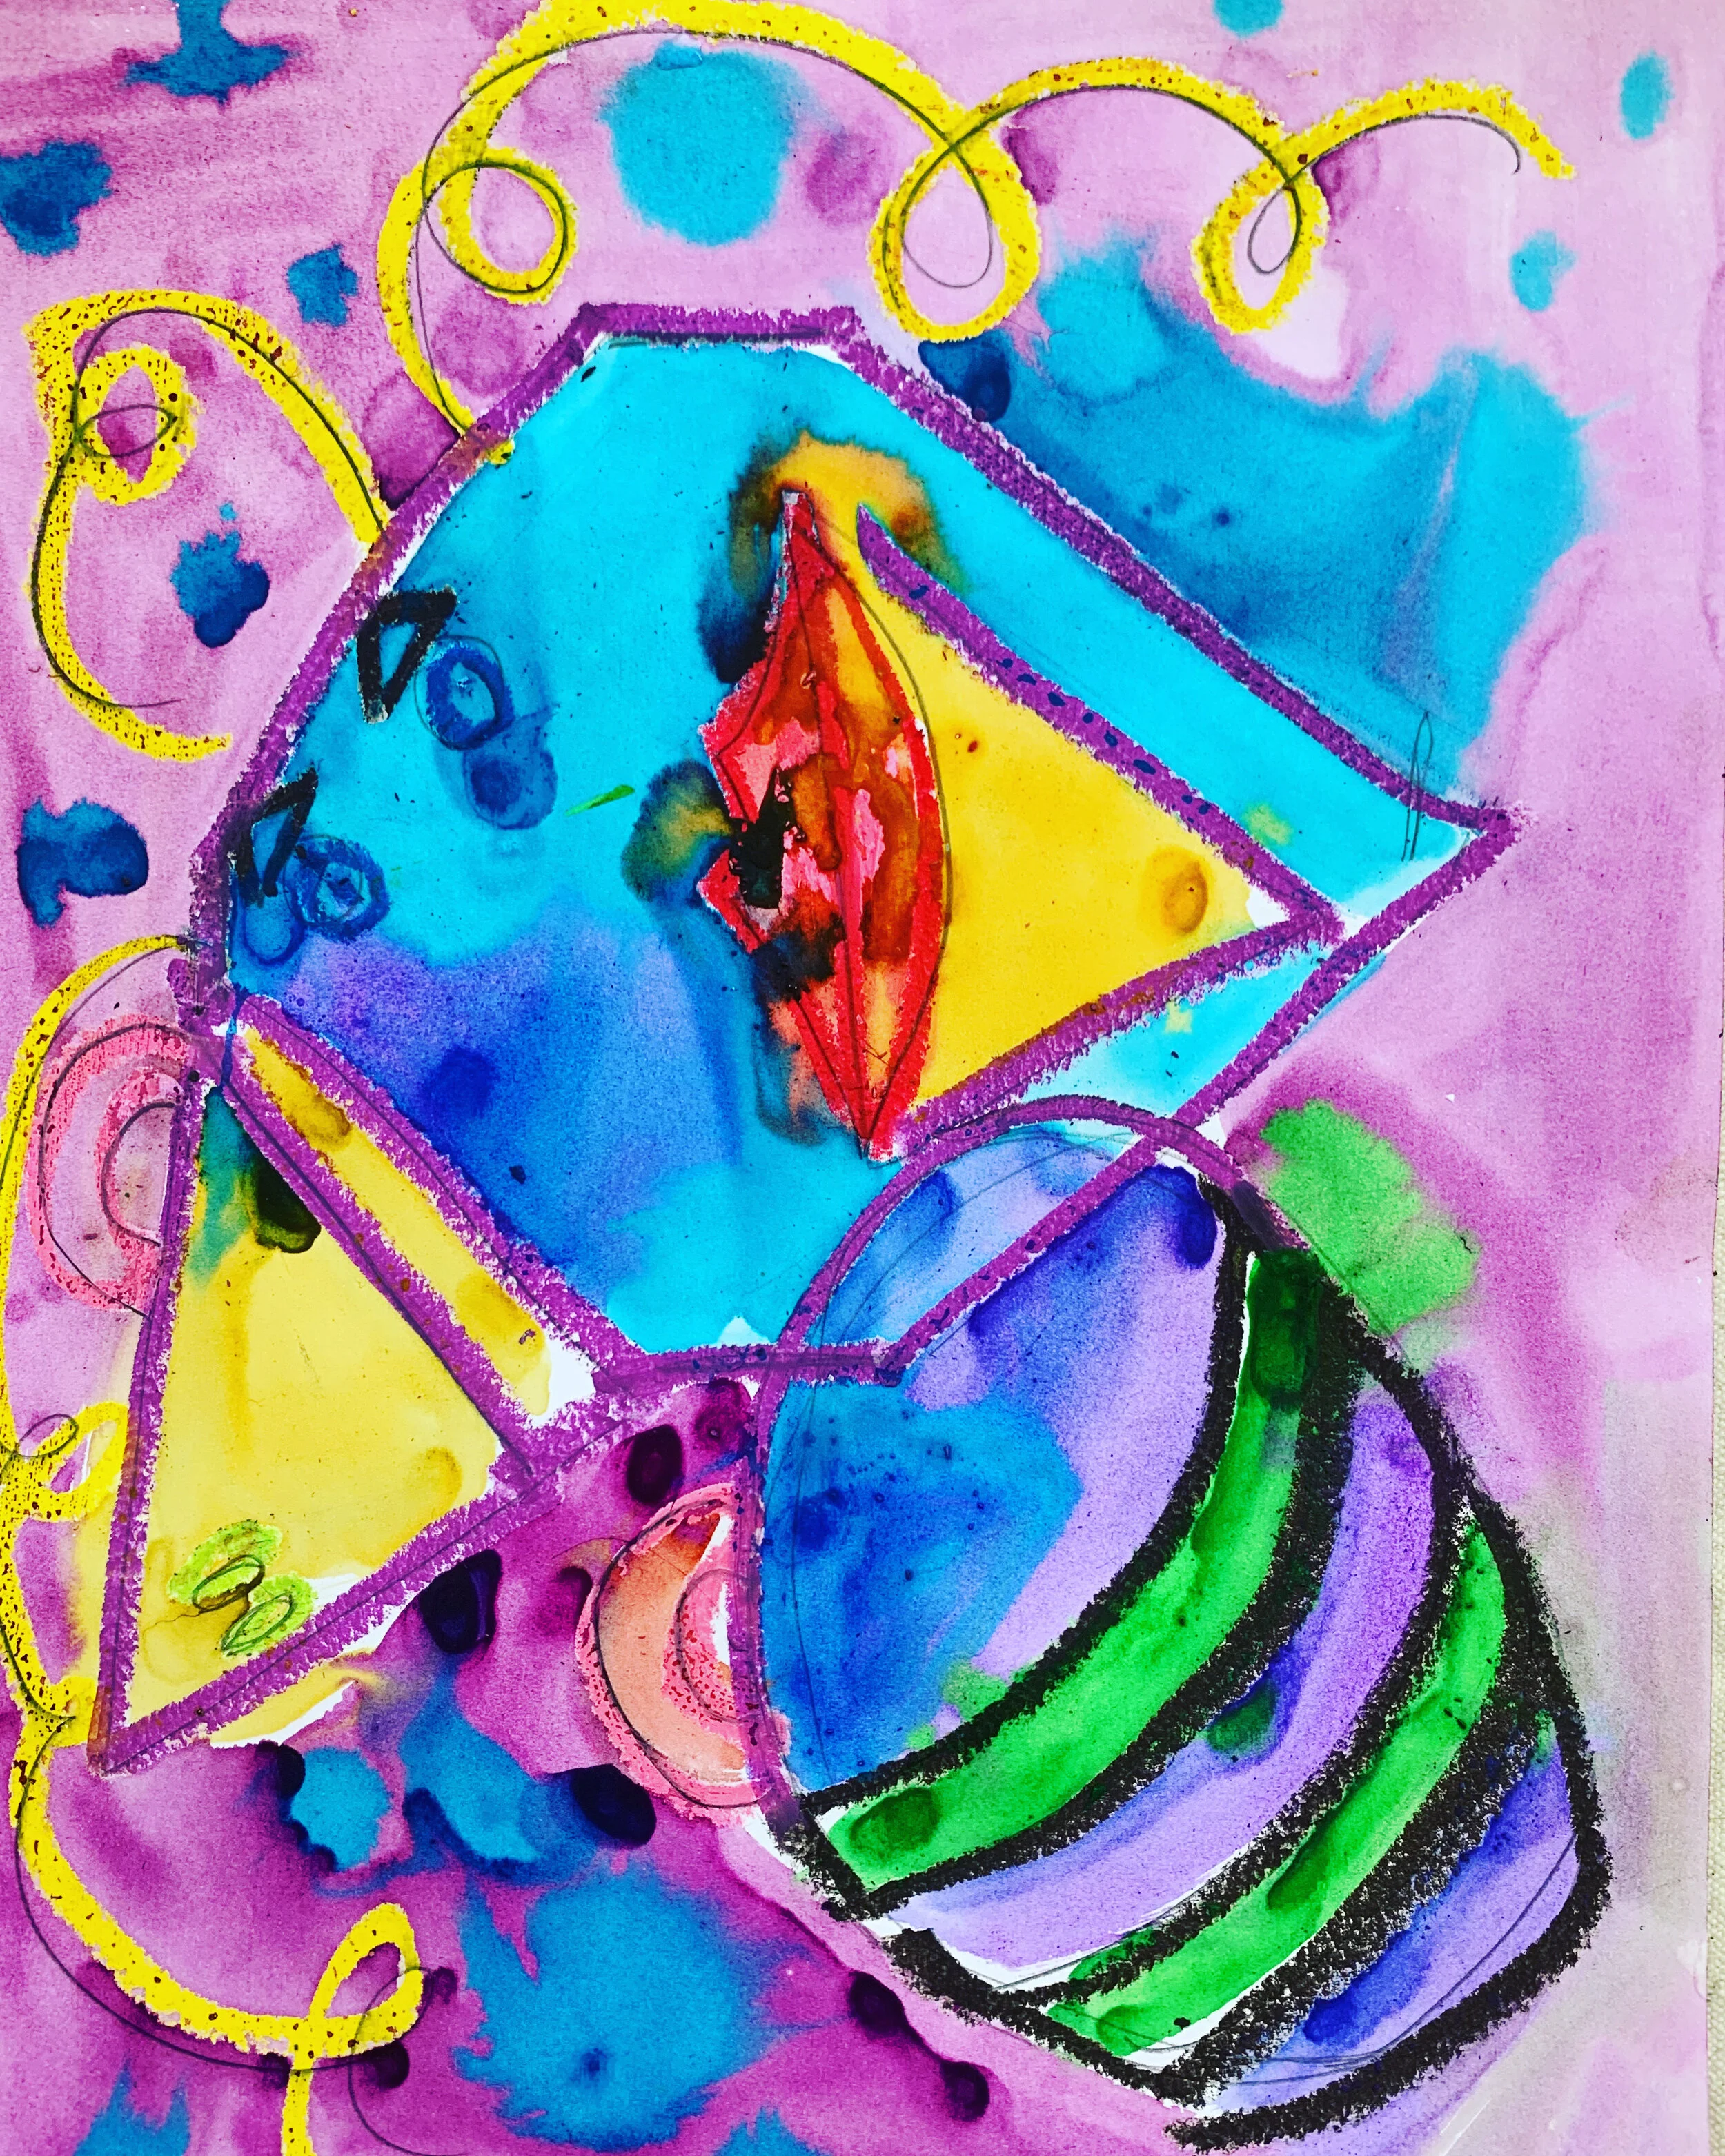
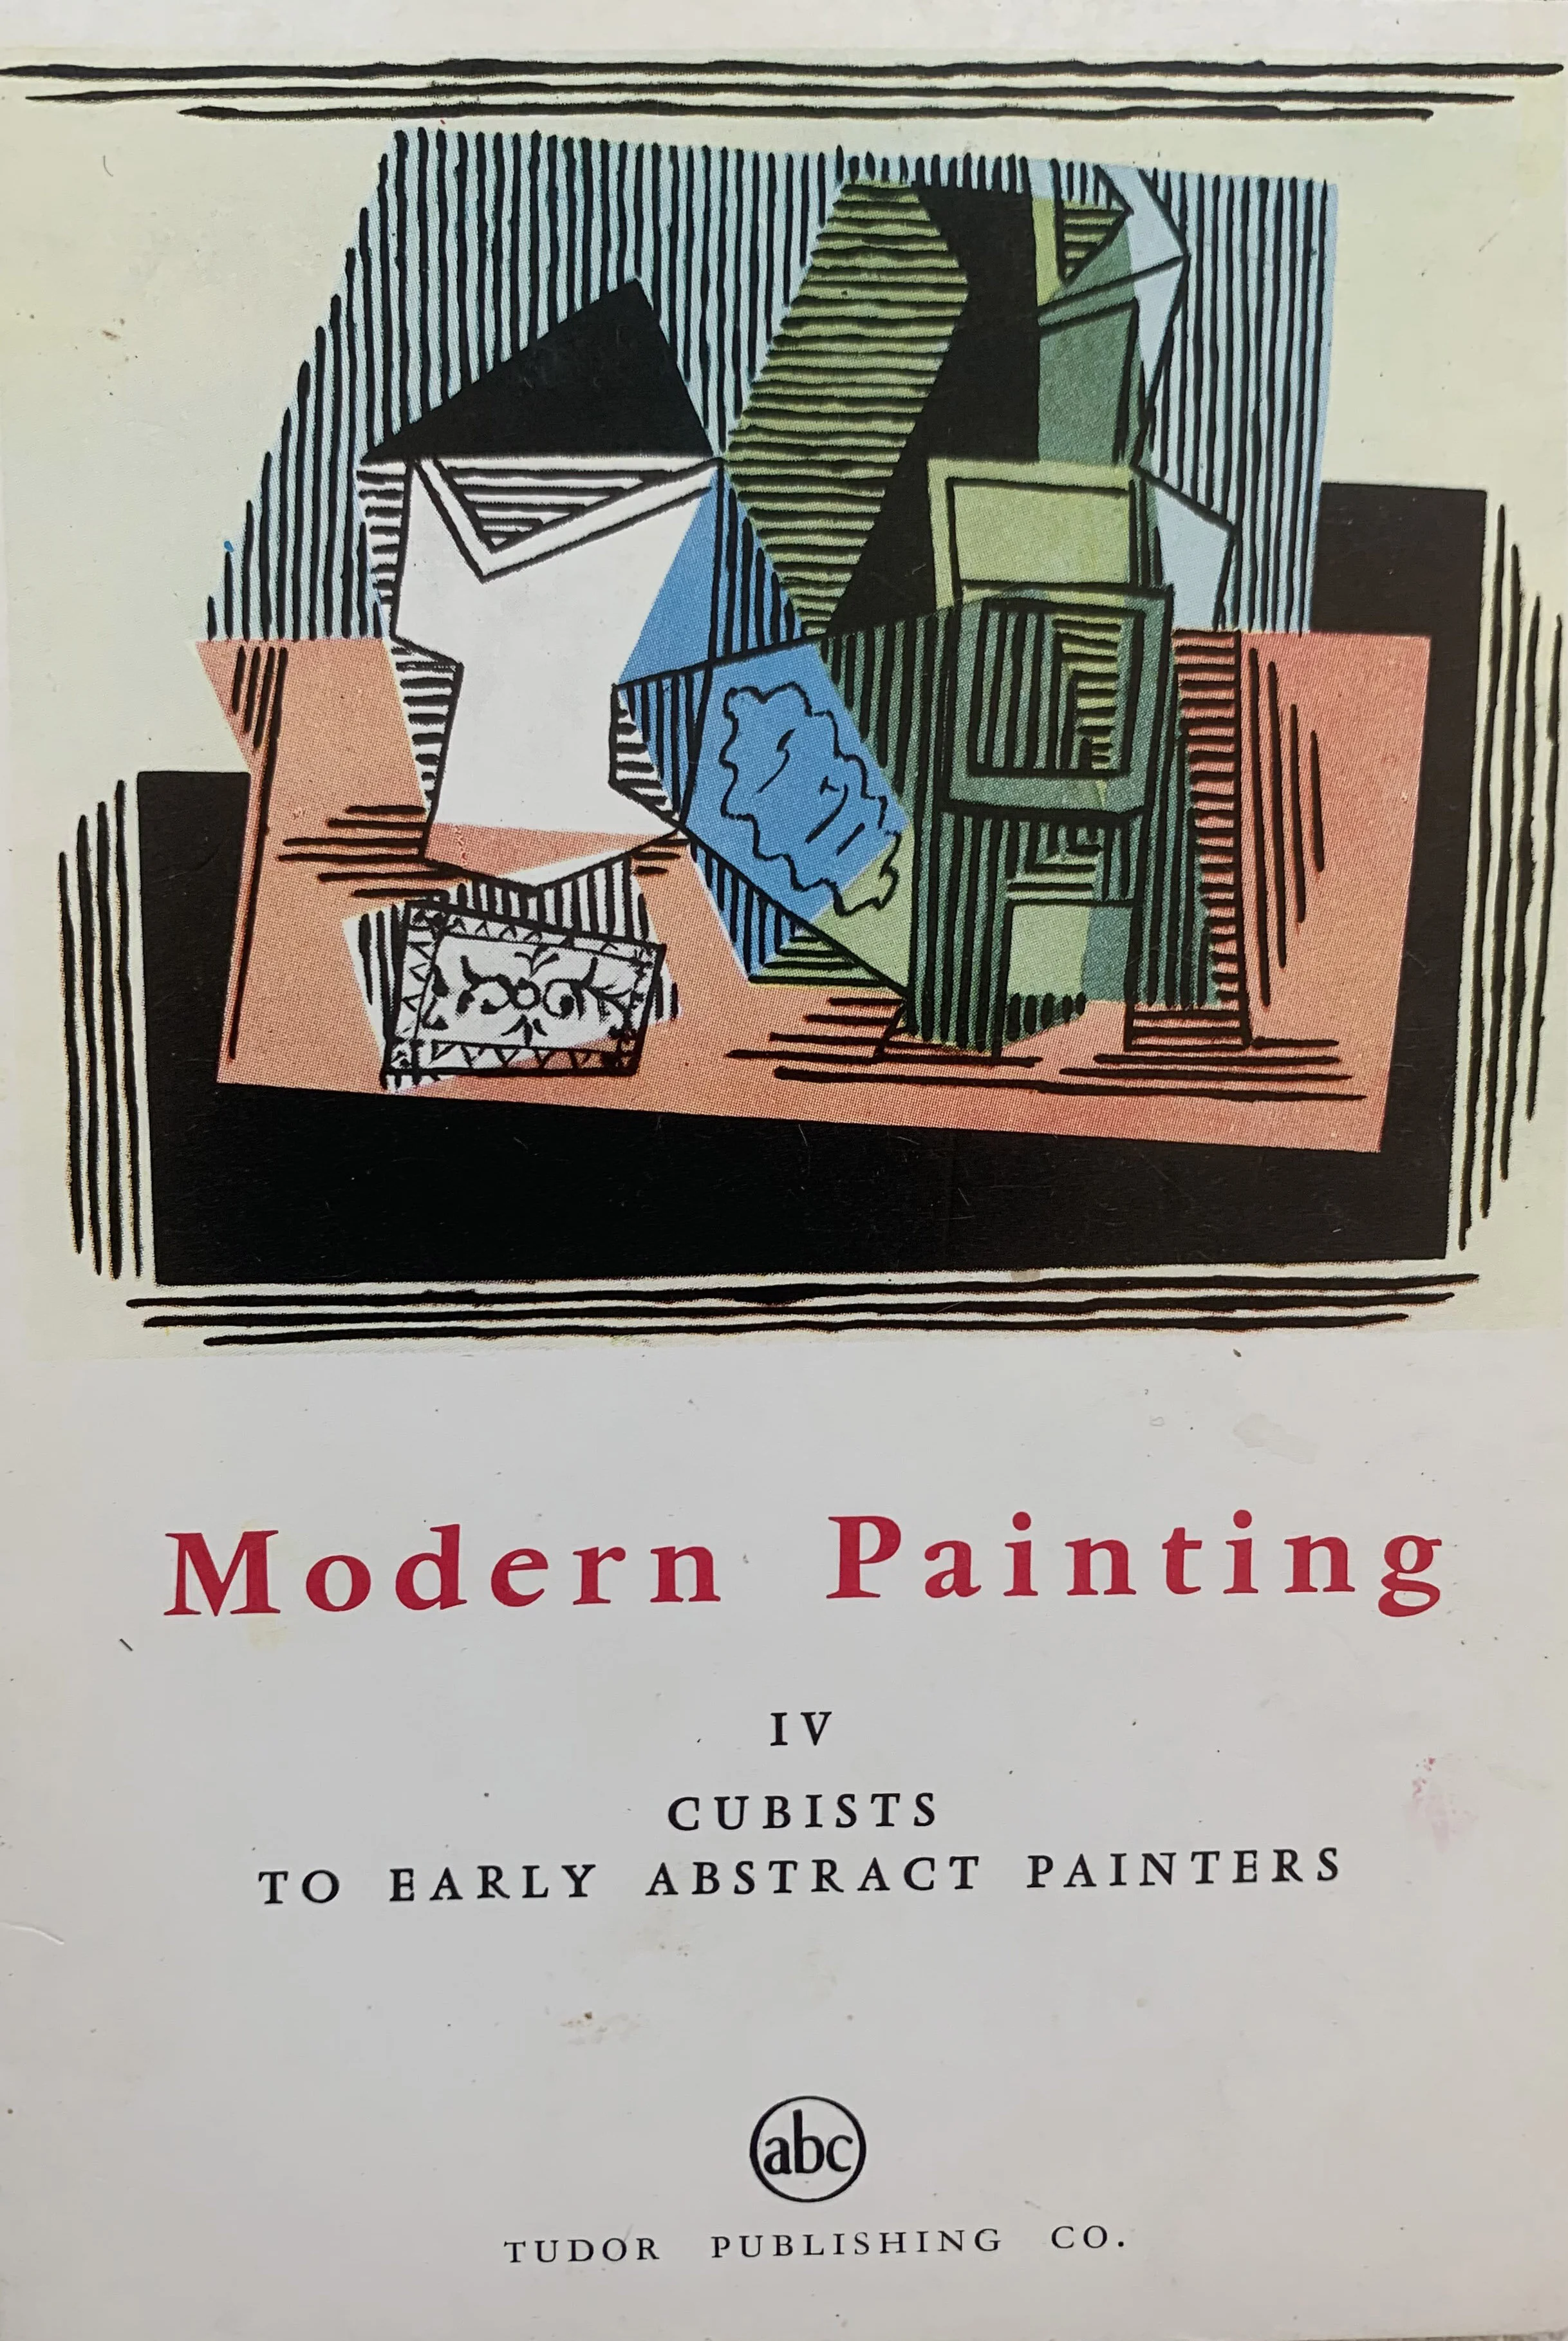
Picasso: Last lesson we explored West African Masks. This class we shift our focus to Pablo Picasso. This Spanish artist was greatly influenced by masks and often painted his figures wearing them.
Let’s Begin:

Before watching EMcGee, watch these two videos about Picasso’s life.
Gather Materials:
Blank Paper
Oil Pastels or Crayons
watercolor paints
paint brush
pencil
small cup of water

Did you know:
Pablo Picasso could draw before he could talk?
Picasso’s father was an artist who spent much time painting pictures of pigeons?
Picasso was so poor when he first moved to Paris that he painted furniture and bookcases on his walls to make the apartment feel full.
Picasso got married lots of times and many girlfriends. He married his last wife at age Eighty.
Watch LESSON VIDEO:
How Masks influenced Picasso’s Art:
Additional videos of Picasso drawing:
Finish painting & Share to Gallery.
Books I Read:

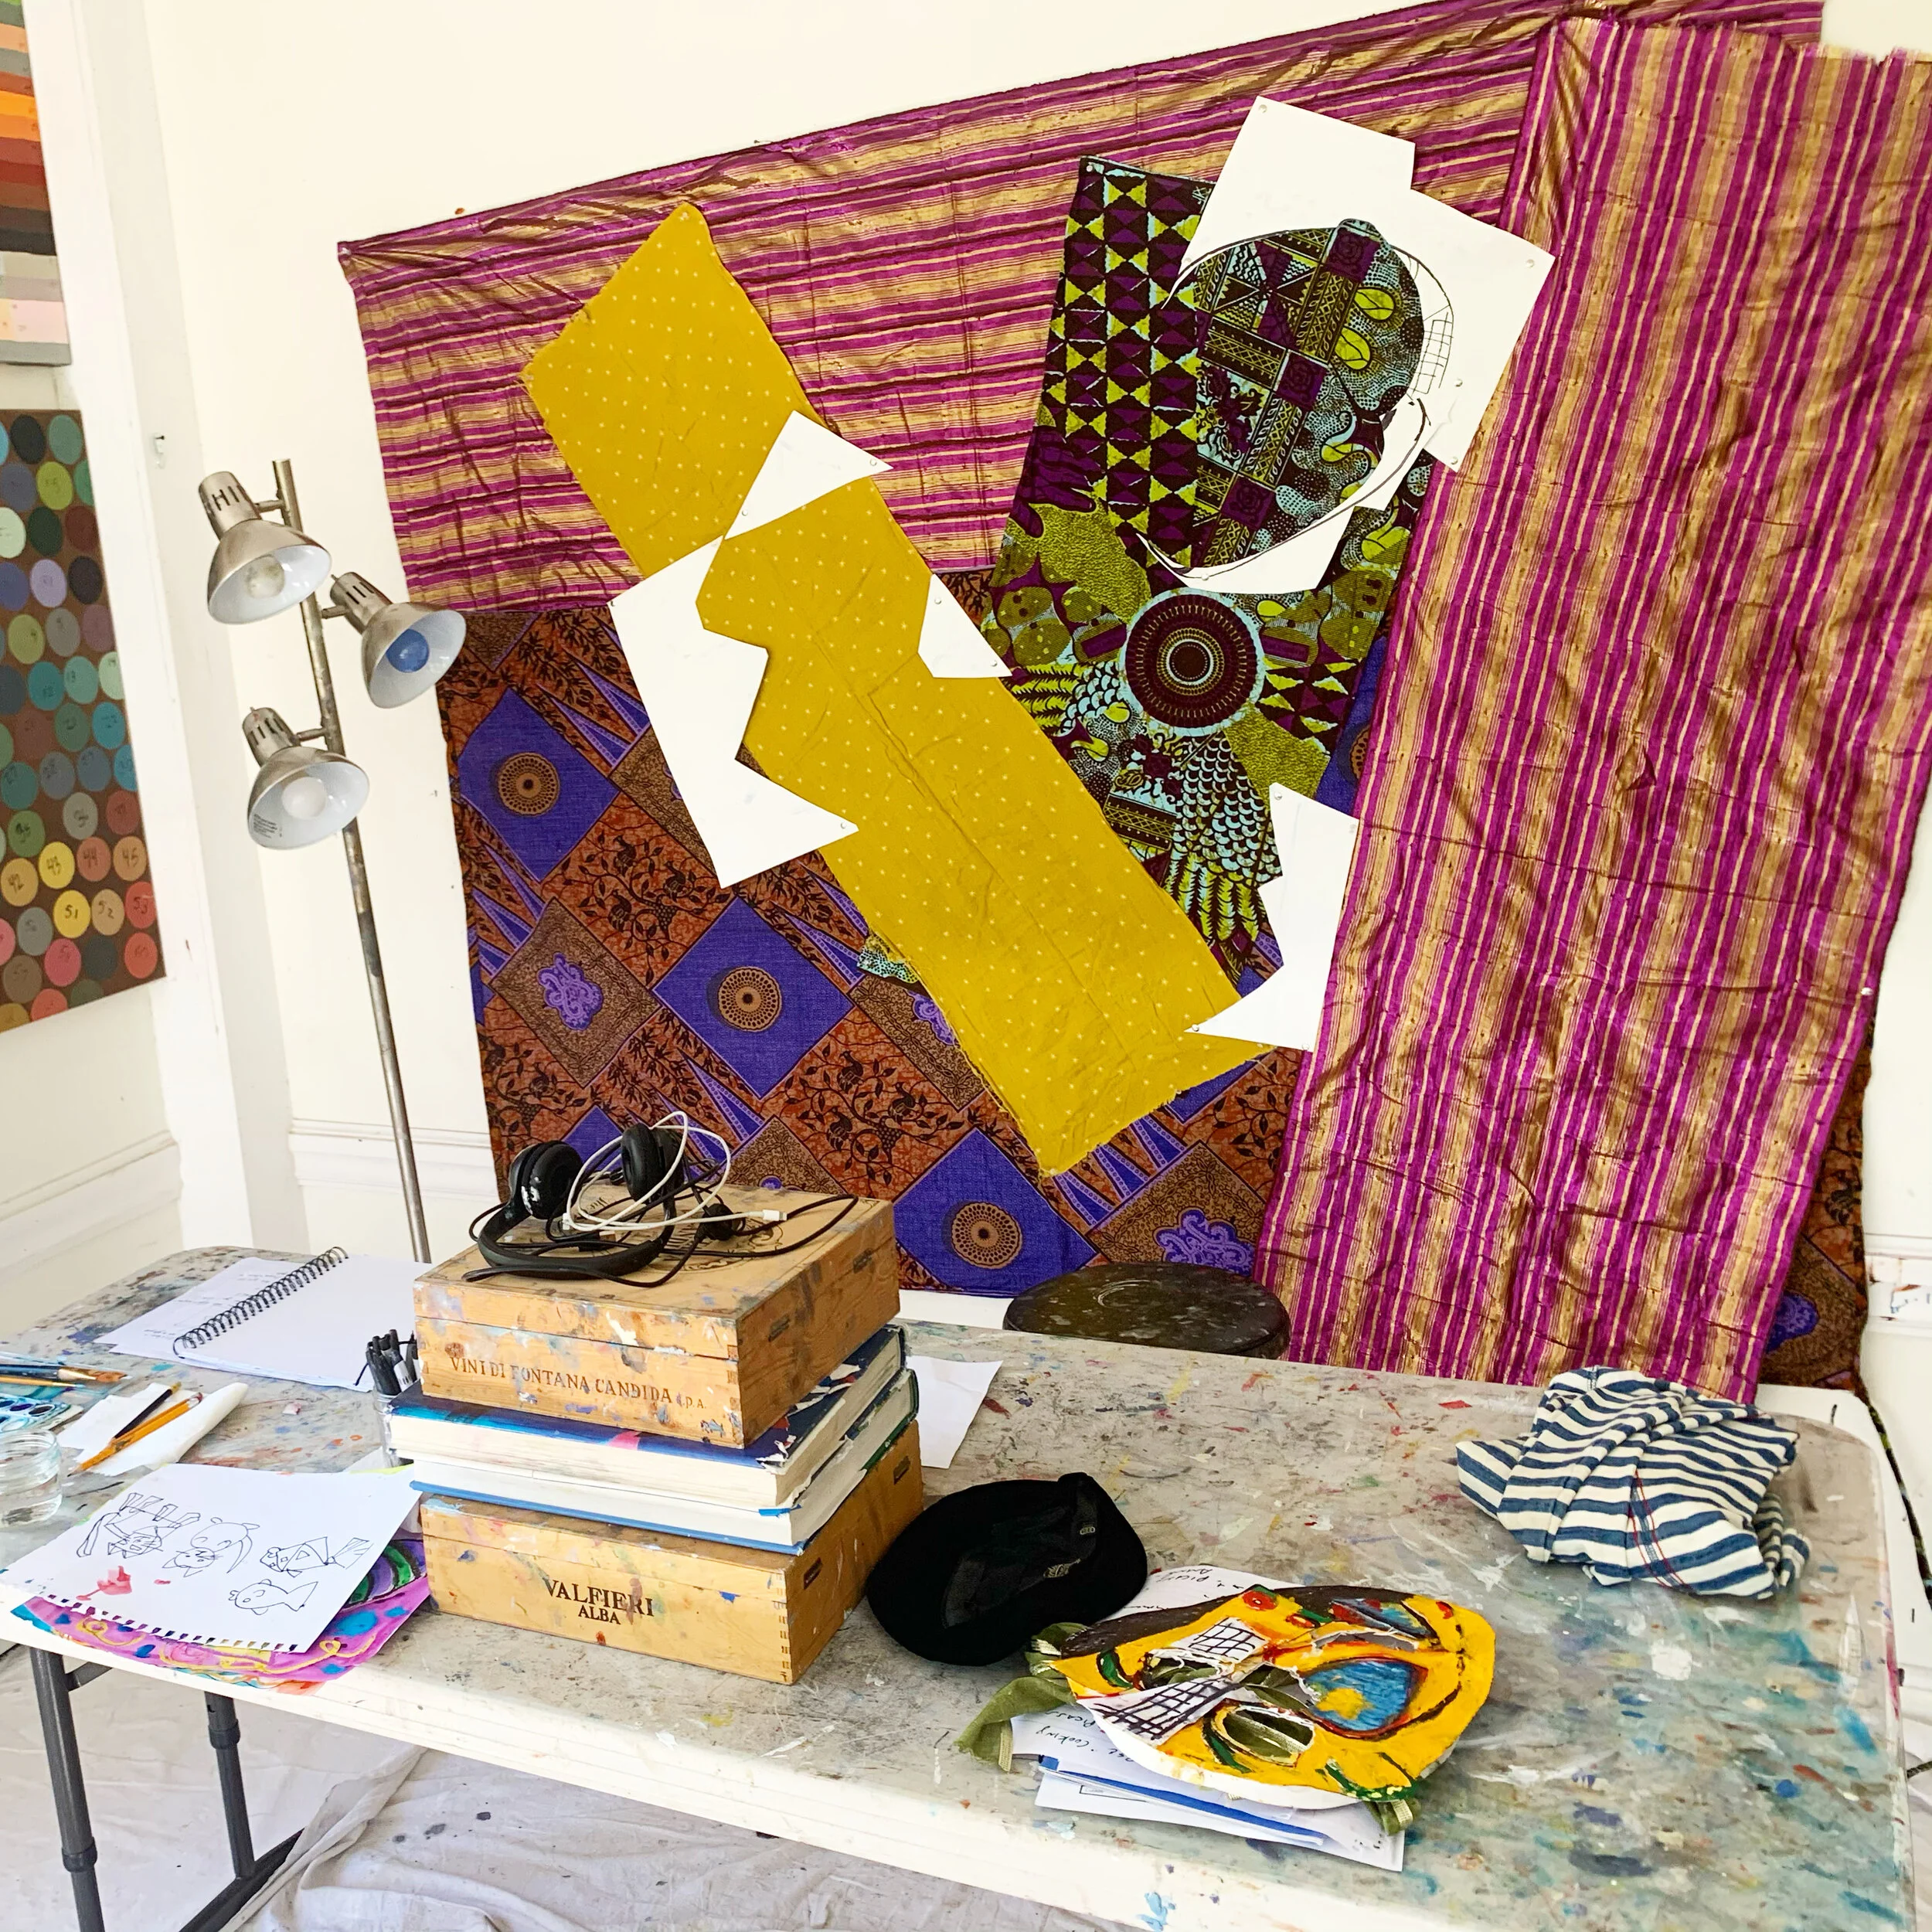
Fun Photos from EMcGee’s Studio.

Promo for Next Lesson:
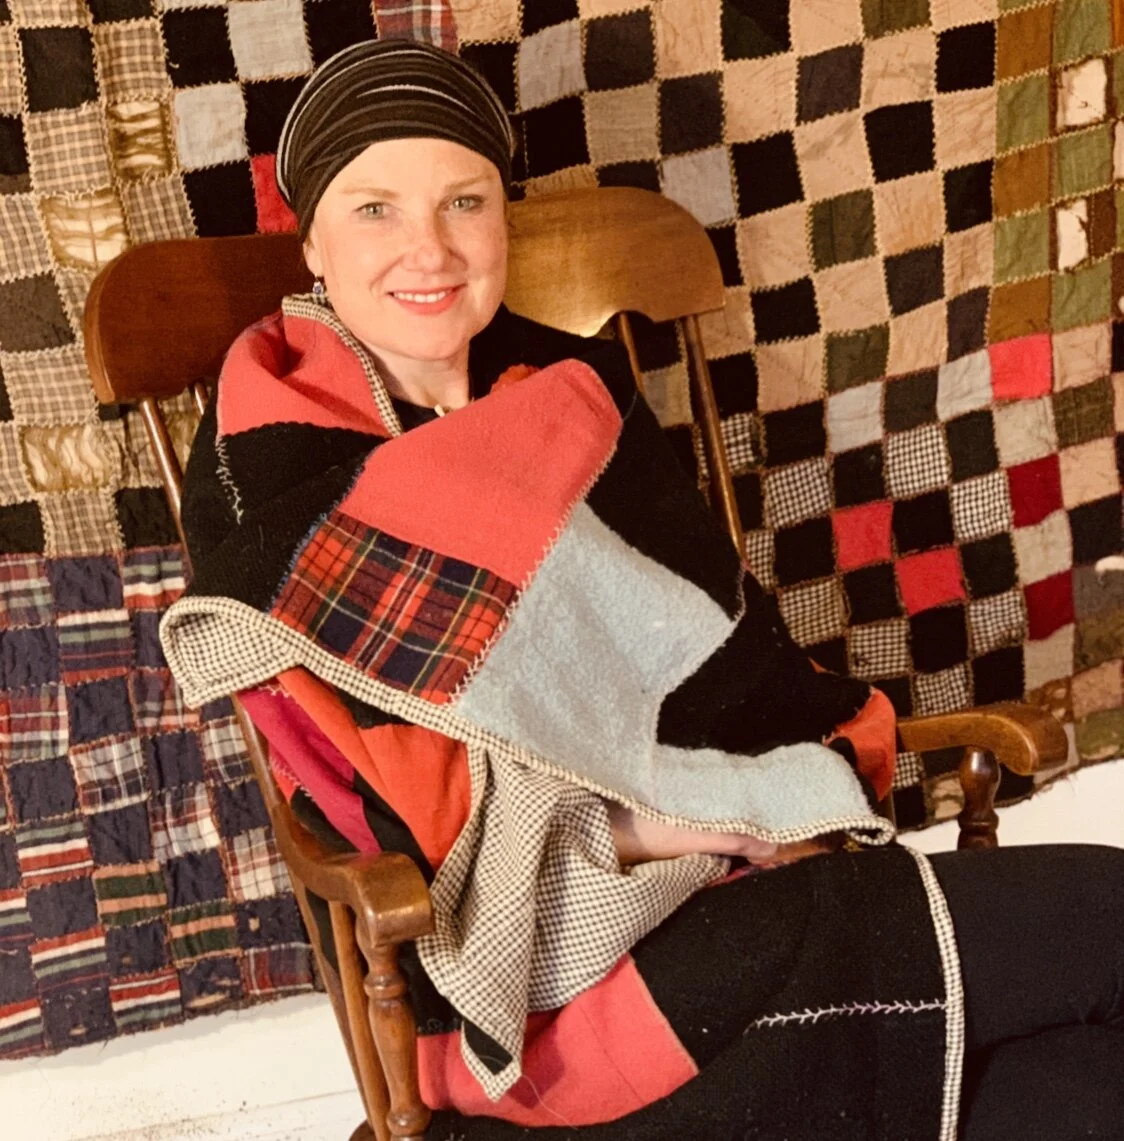
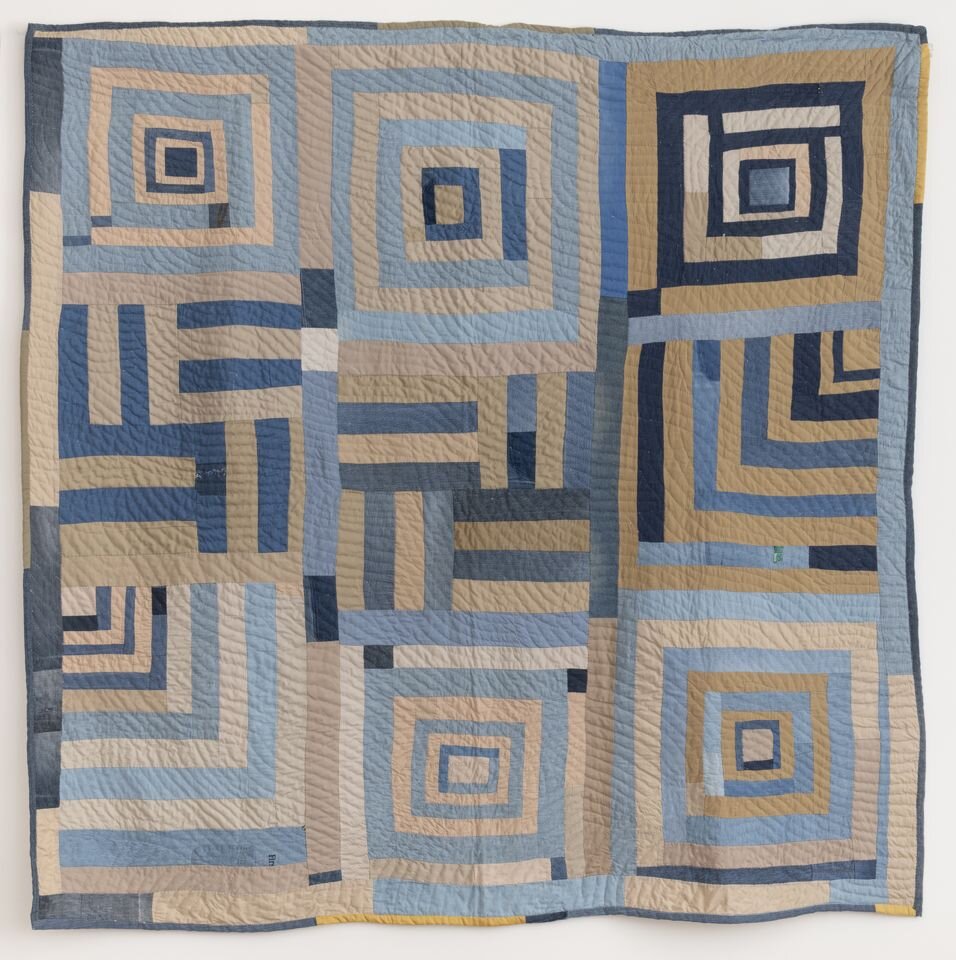
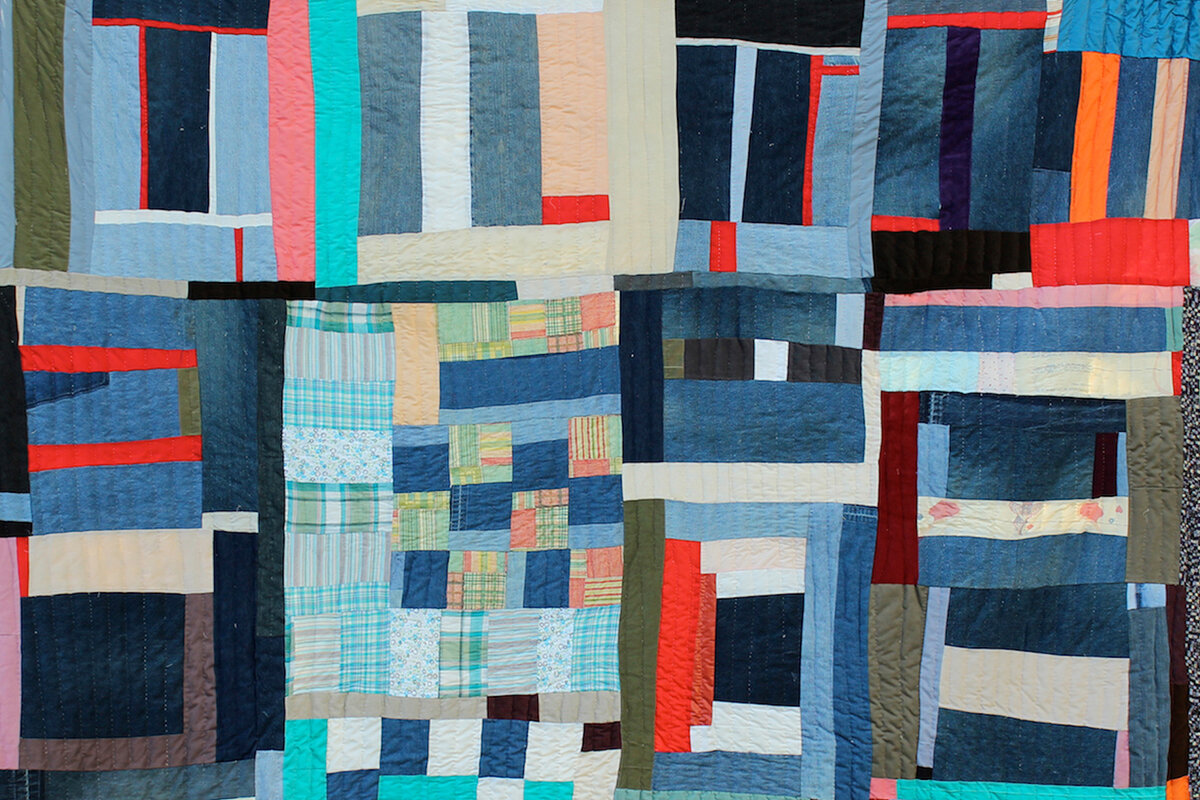
6. Gee's Bend Quilters
Lesson: Gee’s Bend Quilters


Let’s Begin:

Gather Materials:
paper
scissors
glue
magazine (to cut up)
colors (crayons, oil pastels, markers, or colored pencils)


WATCH LESSON VIDEO:
Other great videos to watch:

Show off Your paper quilt designs.


FINISH ART AND SHARE TO YOUTH GALLERY
Resource Suggestion:

NEXT LESSON: Outdoor Watercolor Painting

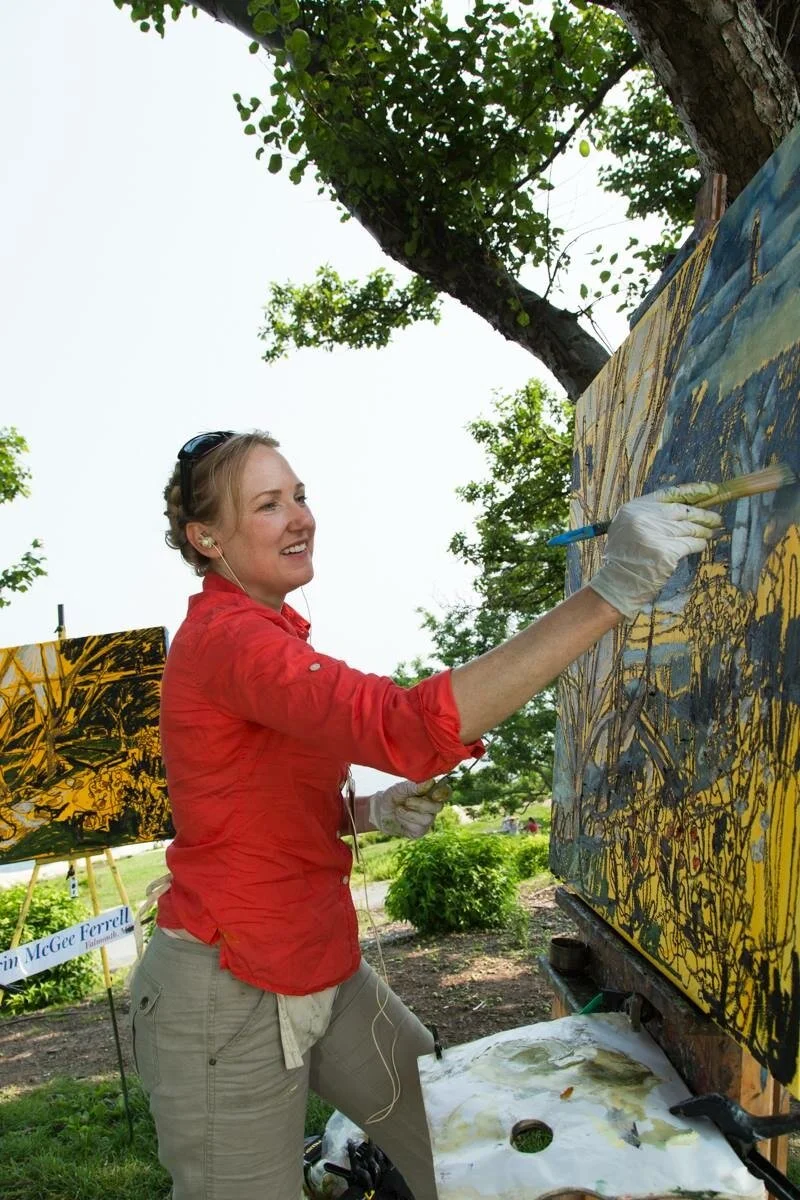
7. Watercolor Summer Excursion 1
SUMMER Watercolor Painting


Let’s Start:
Welcome to Youth Art Studio 2. Part 2.
It is time to grab your watercolor paints and head outside. This series of videos are fun and full of imperfections. The wind blows paper around, the bright sunlight prevents seeing the light shades of paint in the wetlands video, and sometimes lawn mowers interrupt my teaching. Welcome to the adventure of outdoor painting.

Gather Your Materials:
Watercolor paint
brushes
watercolor paper
pencil
fine black ink pen
cup of water
paper towels
masking or blue painters tape

Watch Teaching Videos:
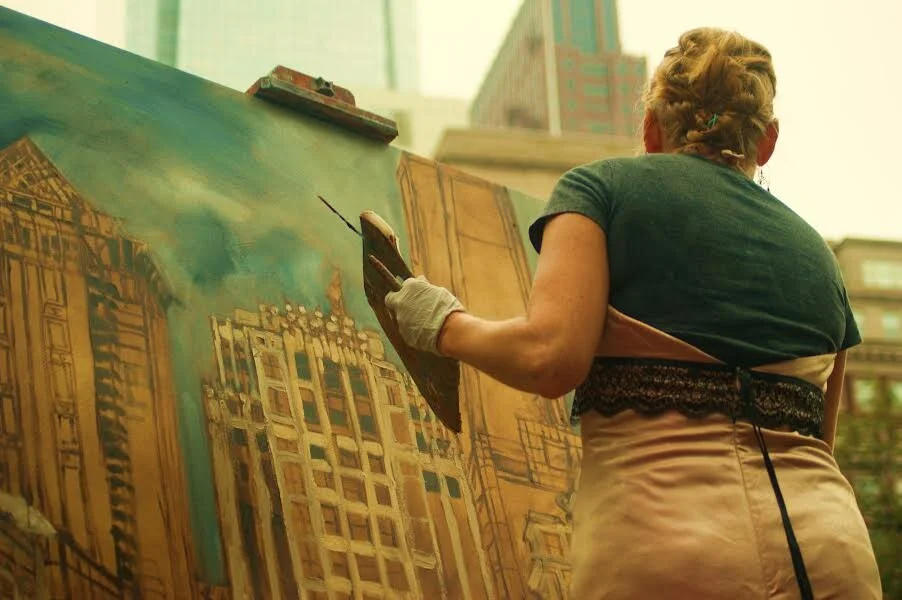
Lesson 1. Painting in the car. (Rest Stop in Pennsylvania)


Lesson 2. Perspective. (Crescent Court. Louisville, Kentucky)


Lesson 3. Bridge Architecture. (Ohio River, Louisville, Kentucky)


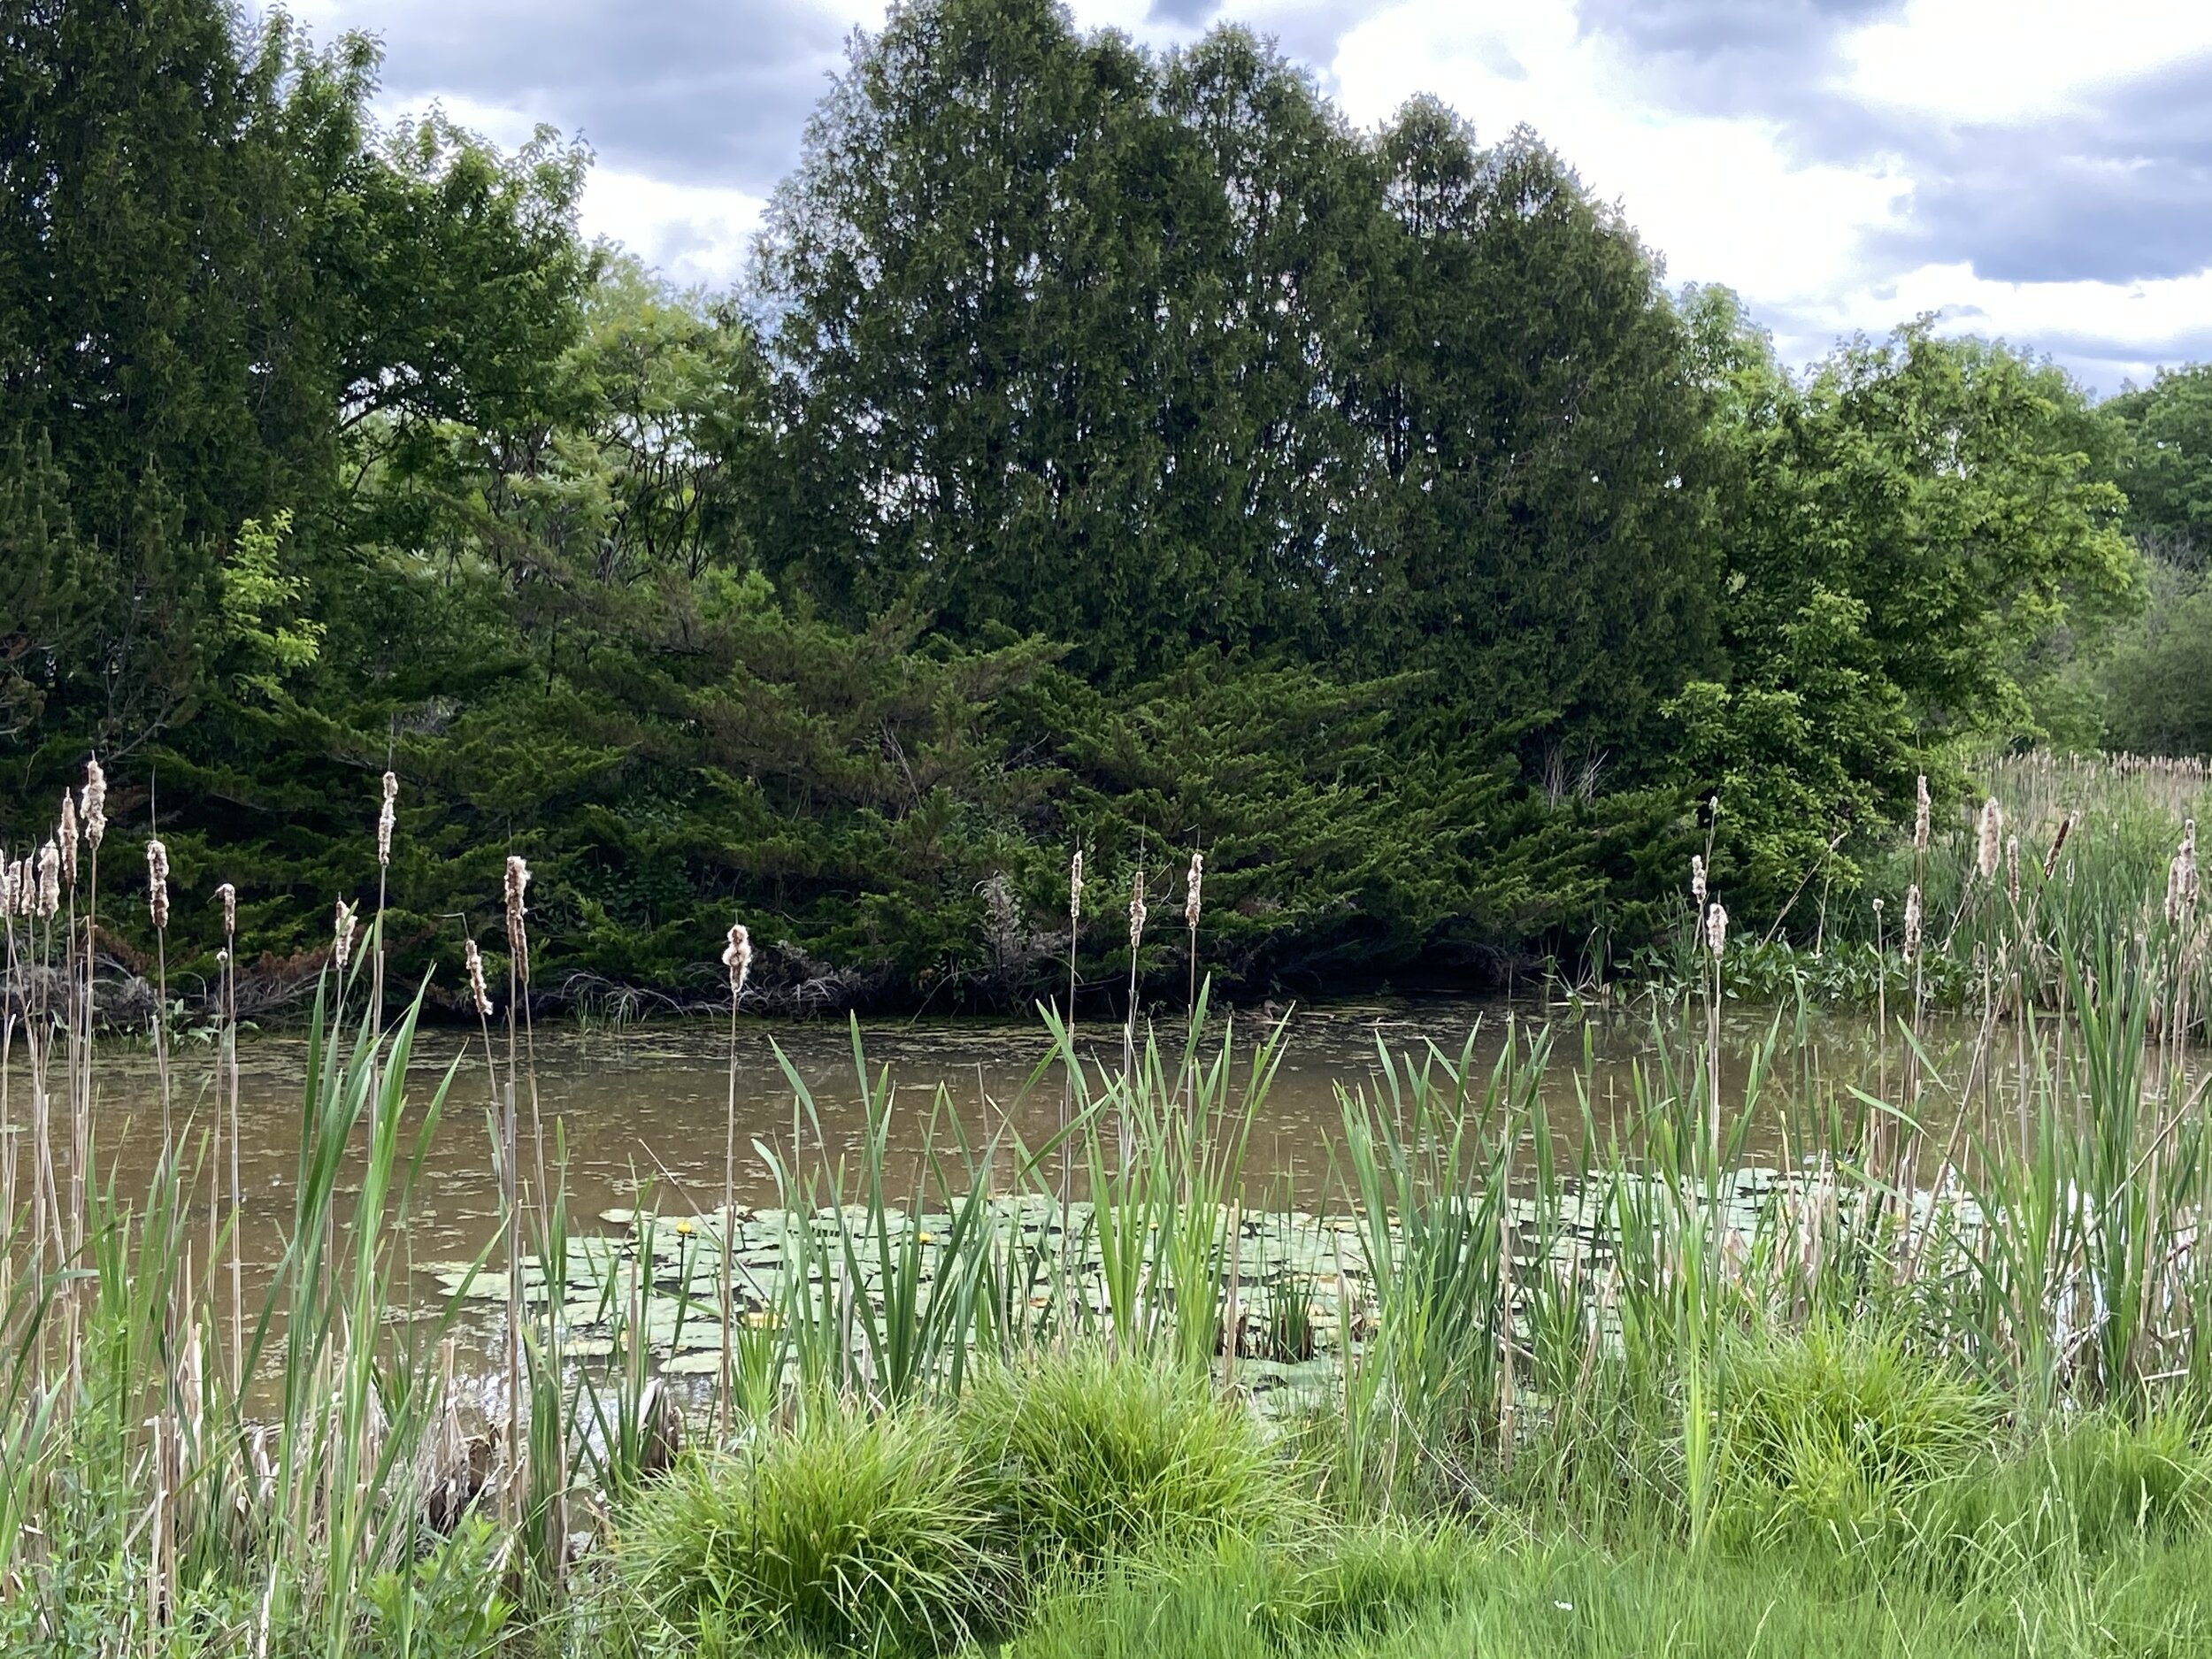
Lesson 4: Maine Wetlands (Falmouth, Maine)


SHARE YOUR WORK:
Upload your Watercolor sketches to the Youth Art Facebook Page!

8. Watercolor Summer Excursion 2
Lesson 8: Town Landing Beach, Falmouth, Maine

Plein Air Painting (Outside Painting) always requires flexibility and Ingenuity. A friend let me paint from her deck, use the wifi for my computer, and her covered hot tub became my table.


Let’s Start:
Go outside in your yard, on a porch, or by a window. It’s time to paint! In this lesson you will be with me in Falmouth, Maine on the Casco Bay. It’s a foggy summer morning so the usual blue sky and water are shrouded in mist. This provides a perfect environment for our class to learn watercolor Drip Techniques.

GATHER YOUR MATERIALS:
Watercolor paint
brushes
watercolor paper
pencil
fine black ink pen
cup of water
paper towels
masking or blue painters tape

Watch Video:


Share Your Art:
Look at some of the paintings that students created from the lesson. Now upload your art to out Youth Studio Page. We all want to see it!


Next Lesson Preview: Cousins Island, Yarmouth, Maine
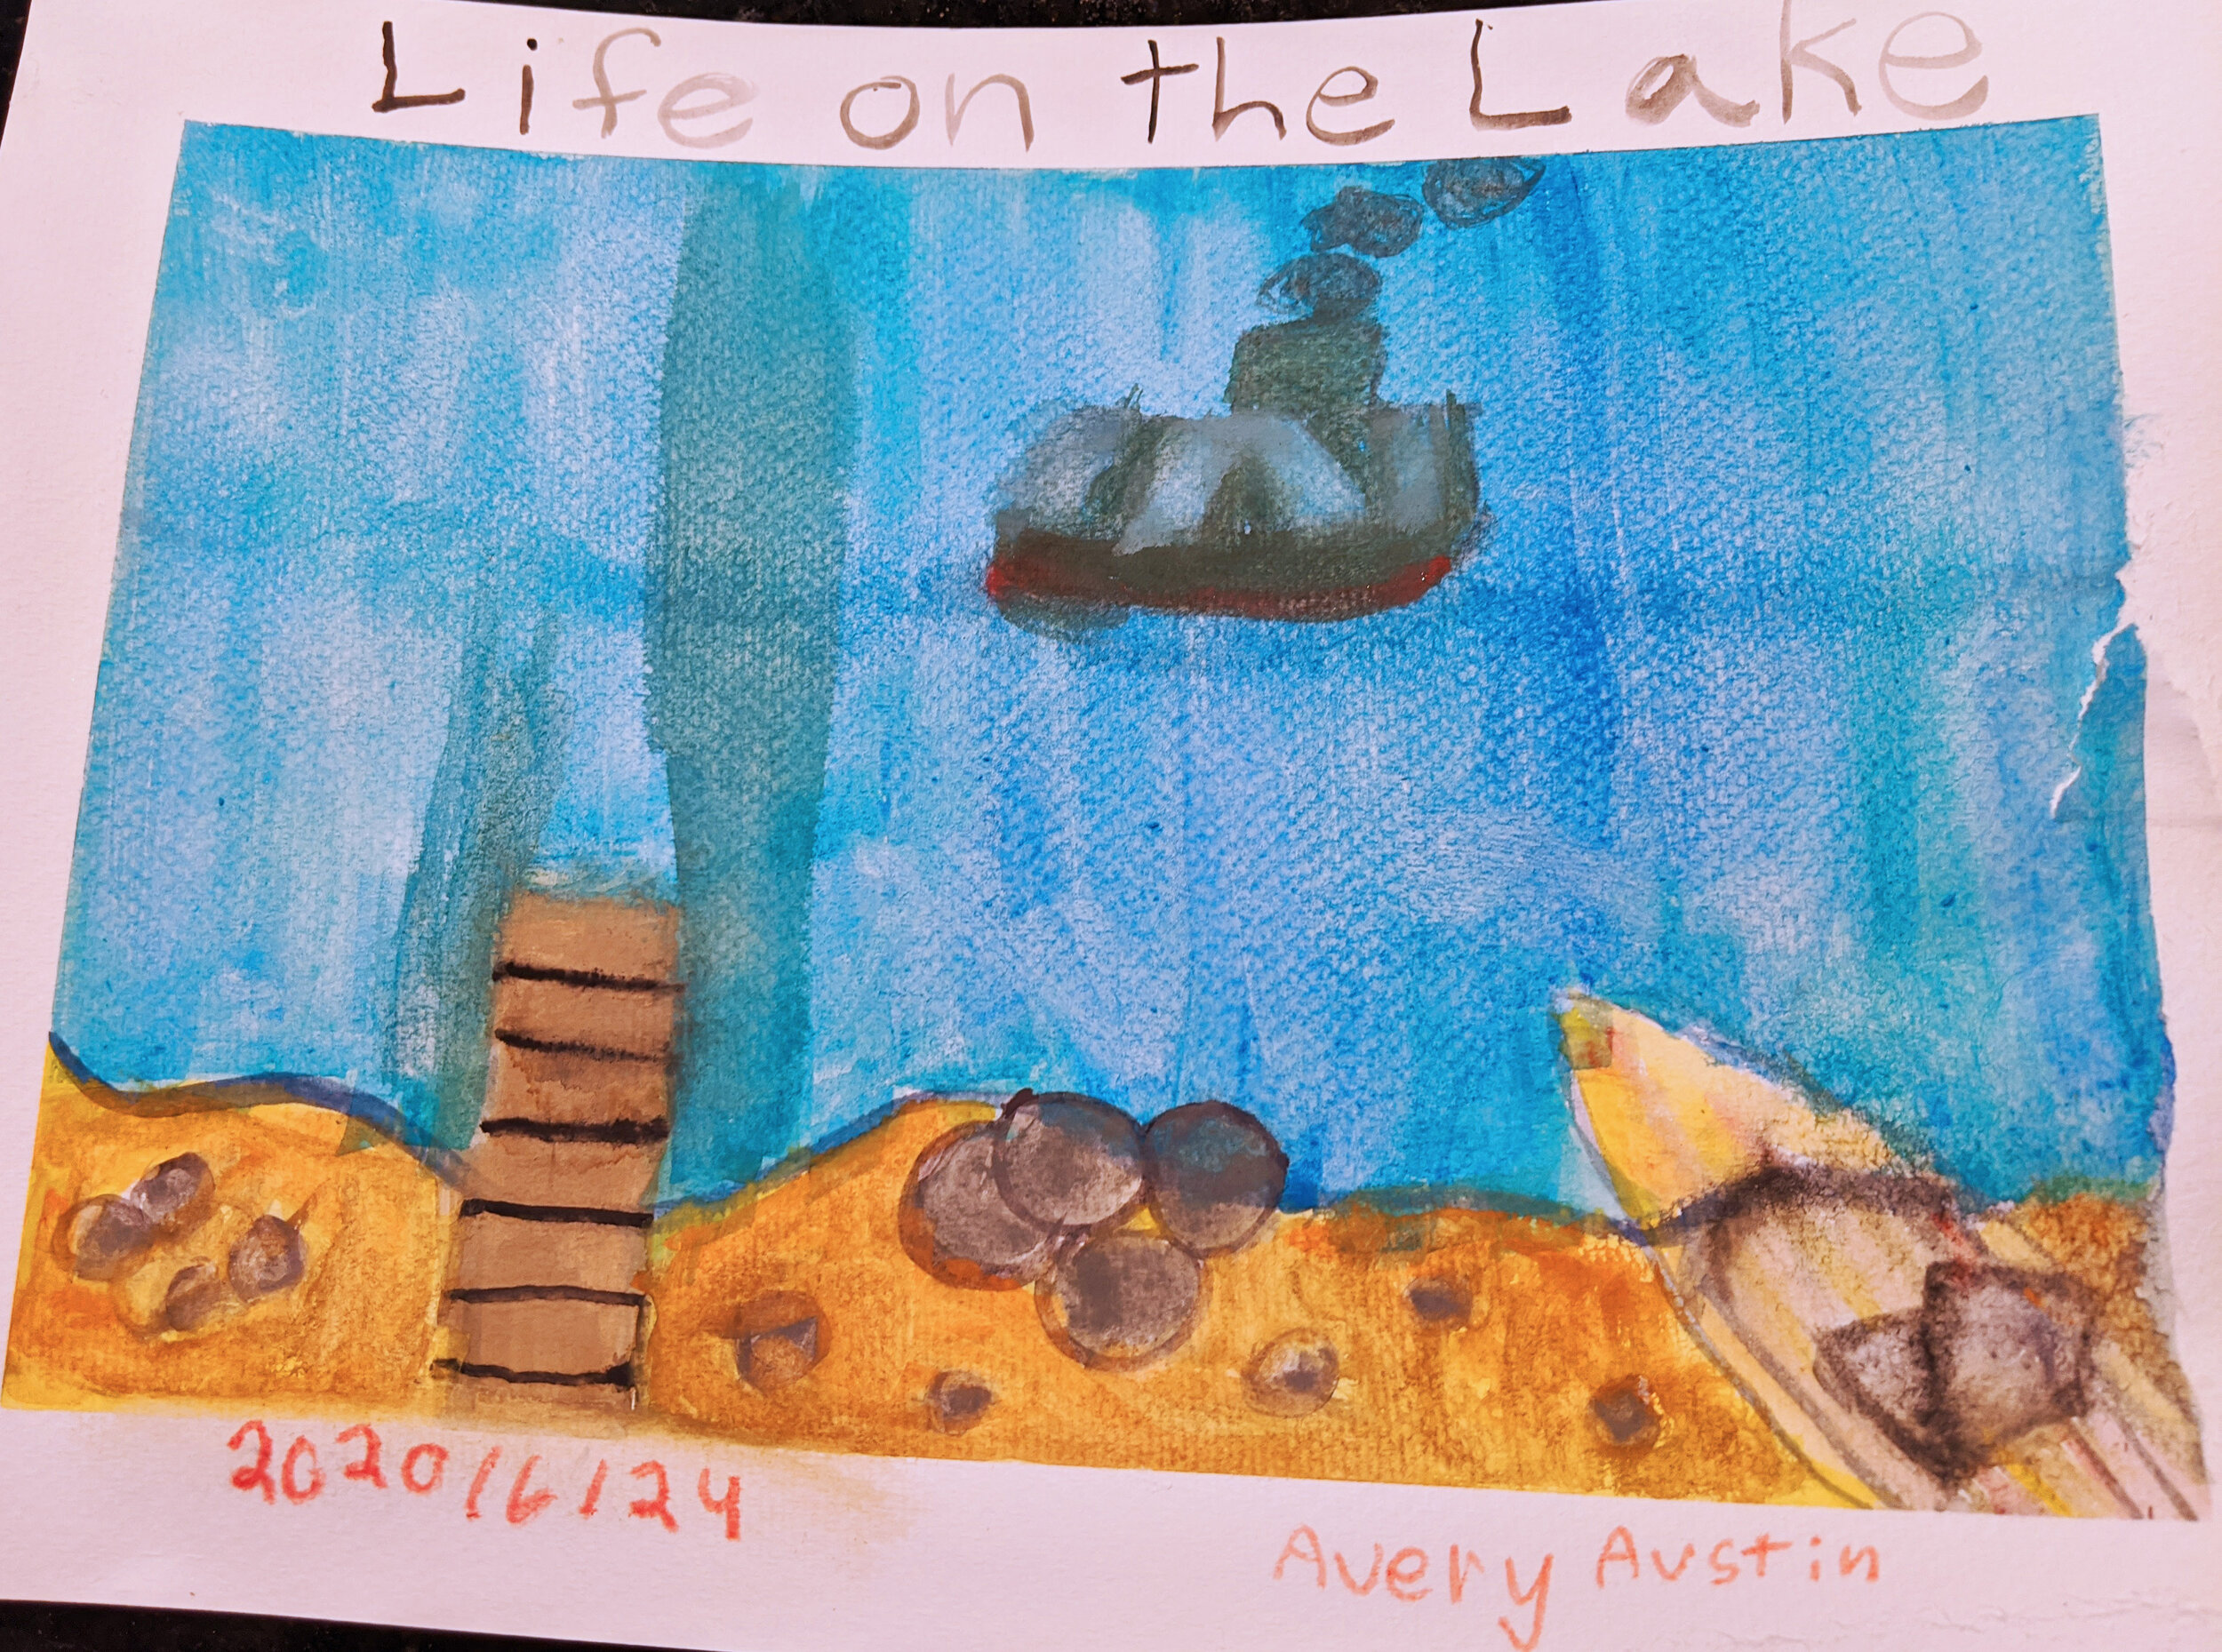
9. Watercolor Summer Excursion 3
Cousins Island Bridge. Yarmouth, Maine

Lesson Promo video:


Let’s Start:

Gather Materials:

Watercolor paint
brushes
watercolor paper
pencil
fine black ink pen
cup of water
paper towels
masking or blue painters tape
Just a note. I created both watercolor and oil paintings in this location on the same day. Images on this lesson’s page are all of those works. Watercolor paintings look very different. It’s fun to see how different kinds of paintings can be made with various materials.

Watch Lesson Video:


Continue Working. Upload to Youth Art Gallery:


Post your painting to our Youth Art Studio Gallery. I’m so excited to see it!
Thank you so much for joining me in my Maine Art Studio! I am so excited that we could paint together.
EMcGee’s Other Art Classes:
Contact me with any suggestions.
SEE YOU SOON! Keep Painting!
